

I’m so excited to share with y’all the process of installing this accent wall in our master bedroom! It is the second board and batten project we’ve done, but it was the first of this design. Of course, being one of our first DIY projects in this house, we definitely made a few mistakes, which I will cover and share how we addressed them. Overall I’d say this bedroom accent wall project is fairly easy to do. If you want to check out our other home projects, you can find them here.
Materials & Tools
- 1×4 pre-primed trim board
- 2″ brad nails
- Ryobi brad nailer
- Wood filler
- Paintable caulk
- 150 grit sand paper
- 220 grit sand paper
- Frog tape
- Plastic drop cloth
- Brown paper
- Graco paint sprayer
- Benjamin Moore paint in the color Paradiso
PART 1: MEASURE AND PLAN
First we measured out the dimensions of the wall. Our wall was 15 feet wide and our upstairs level has 8ft ceilings. The existing baseboard was 7.5″ tall. So working off of 180″ W x 88.5″ H we started planning out the spacing. We chose to do 4 rows tall by 8 columns wide and we wanted to use 1 x 4 trim boards since the baseboard was pretty chunky. I then sketched out the plan to get a visual of the space.
To determine the width each square, we had to do a bit of math. First, you’ll want to take the width of the wall and subtract the width of your trim boards x the number of squares you want +1. You then divide that number by the number of squares you want:

Then you want to repeat the process for the height of each square. Once again you’ll factor in the height of the wall space, the number of squares and the width of the trim board.

PART 2: CUTTING AND INSTALLING
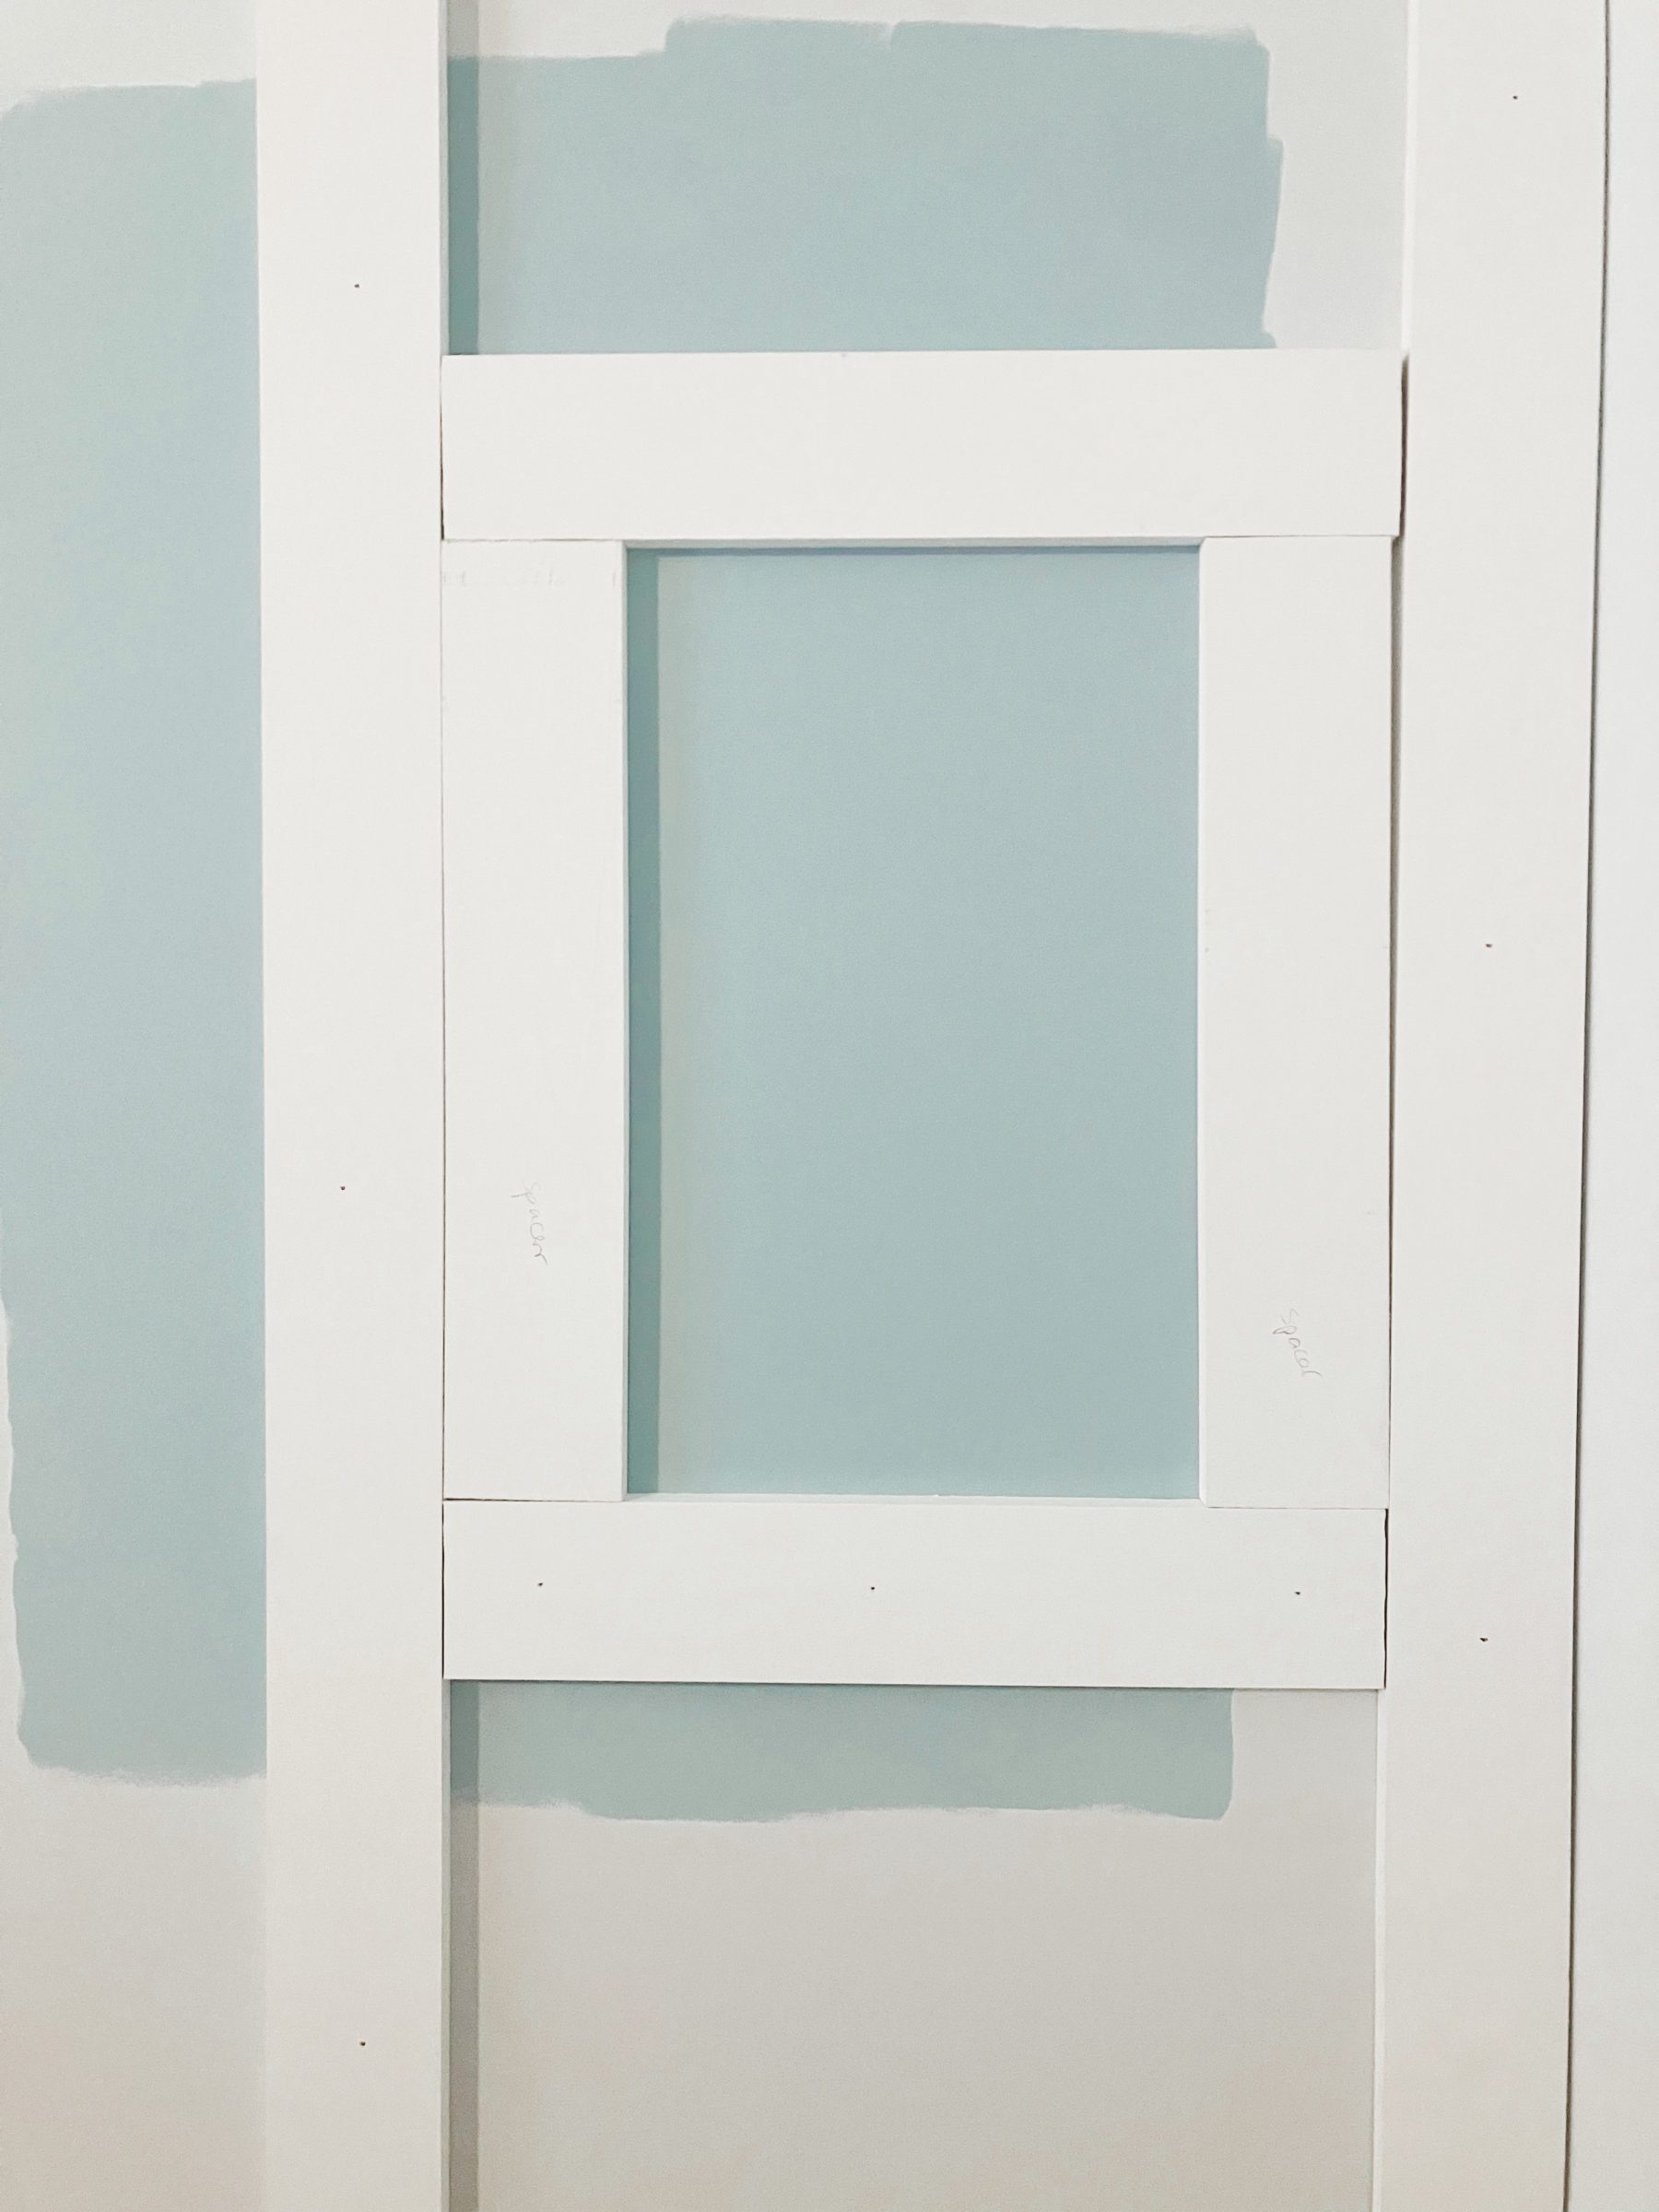
After we calculated all of our measurements, we made a cut list. Our wall was very wide so we needed two boards 7.5ft long to go across the top against the ceiling. We then needed 9 vertical boards to create our ‘columns’. These ended up being 86″ tall. Here was where we made our first mistake. We had double checked the measurement of the wall width, but did not double check the measurement of the height. We ended up being about 3/4″ off and didn’t realize this until we had cut 7 boards. So we ended up re-purposing those for our smaller cuts and had to go back to Home Depot for an additional 3 boards. Our squares needed to be 18 9/10″ wide so we cut a spacer board out of scrap wood to space our vertical boards evenly.
Since of course no walls are actually flat, we did run into a few spots where the vertical slats did not meet flush with the top trim boards so we used small pieces of paint stir sticks to shim behind the board and create a relatively flush surface.
After we nailed in the top trim boards and all of our vertical boards, we moved on to the many many cuts for the smaller boards. The squares needed to be 18 5/8″ tall so this time we cut two spacer boards. This allowed us to put one against each vertical board and then rest the horizontal piece on top and nail it into place. In total we needed 24 horizontal pieces. We nailed each piece of trim board using our brad nailer with 2″ nails. We worked floor to ceiling, moving across column by column.
PART 3: FILLING THE GAPS
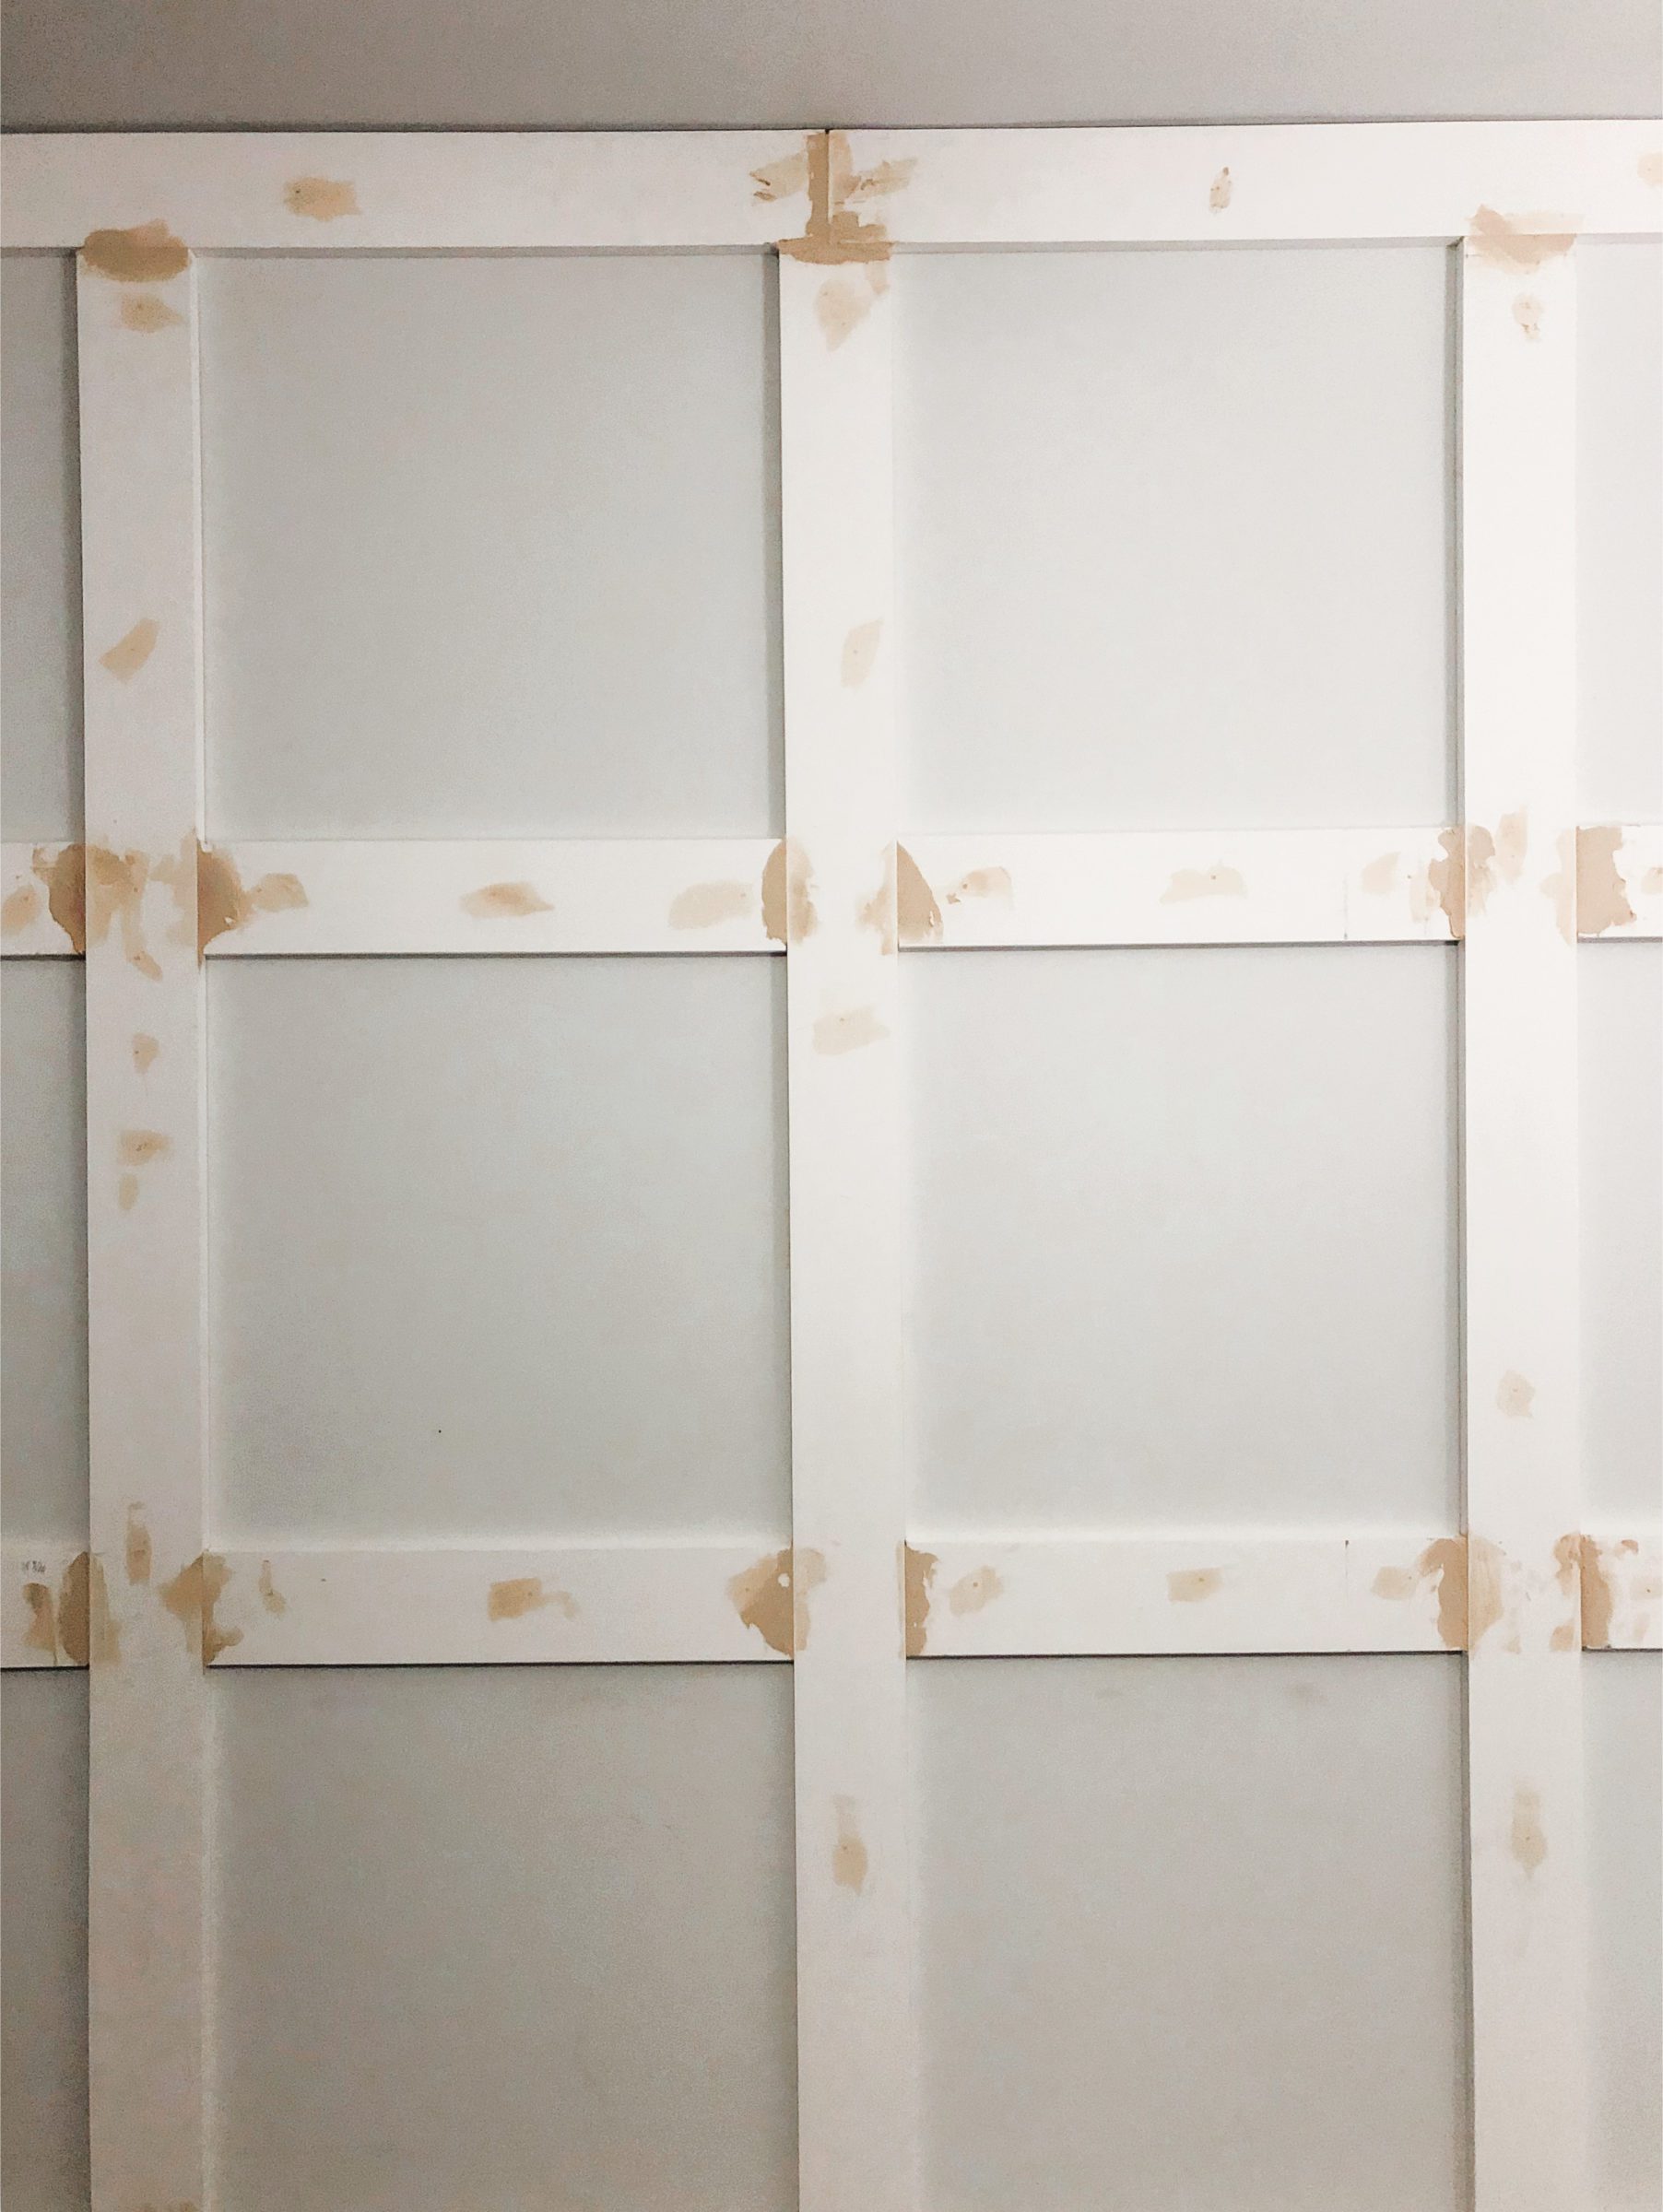
This is by far the worst part of any DIY project like this. After all of the boards are nailed in, it’s time for wood filler and caulk. We used wood filler for any seams where two boards were meeting and caulk for any seams where the boards met the walls. We also used wood filler for the nail holes. This part is SO tedious, but it really does make a difference in the final look so I don’t recommend skipping this step.
Once it was all dried, we went over all the wood filler with a medium grit and then fine grit sandpaper to get all the seams nice and smooth. Now I’ll admit, I have never figured out how to get it so that all of the boards are even with each other. This means I am always trying to even out uneven edges with wood filler and while it helps some, I still notice it afterwards. So if you have the same problems, just know you’re not alone and as a self-proclaimed perfectionist I understand if this drives you crazy for a bit.
PART 4: PAINT
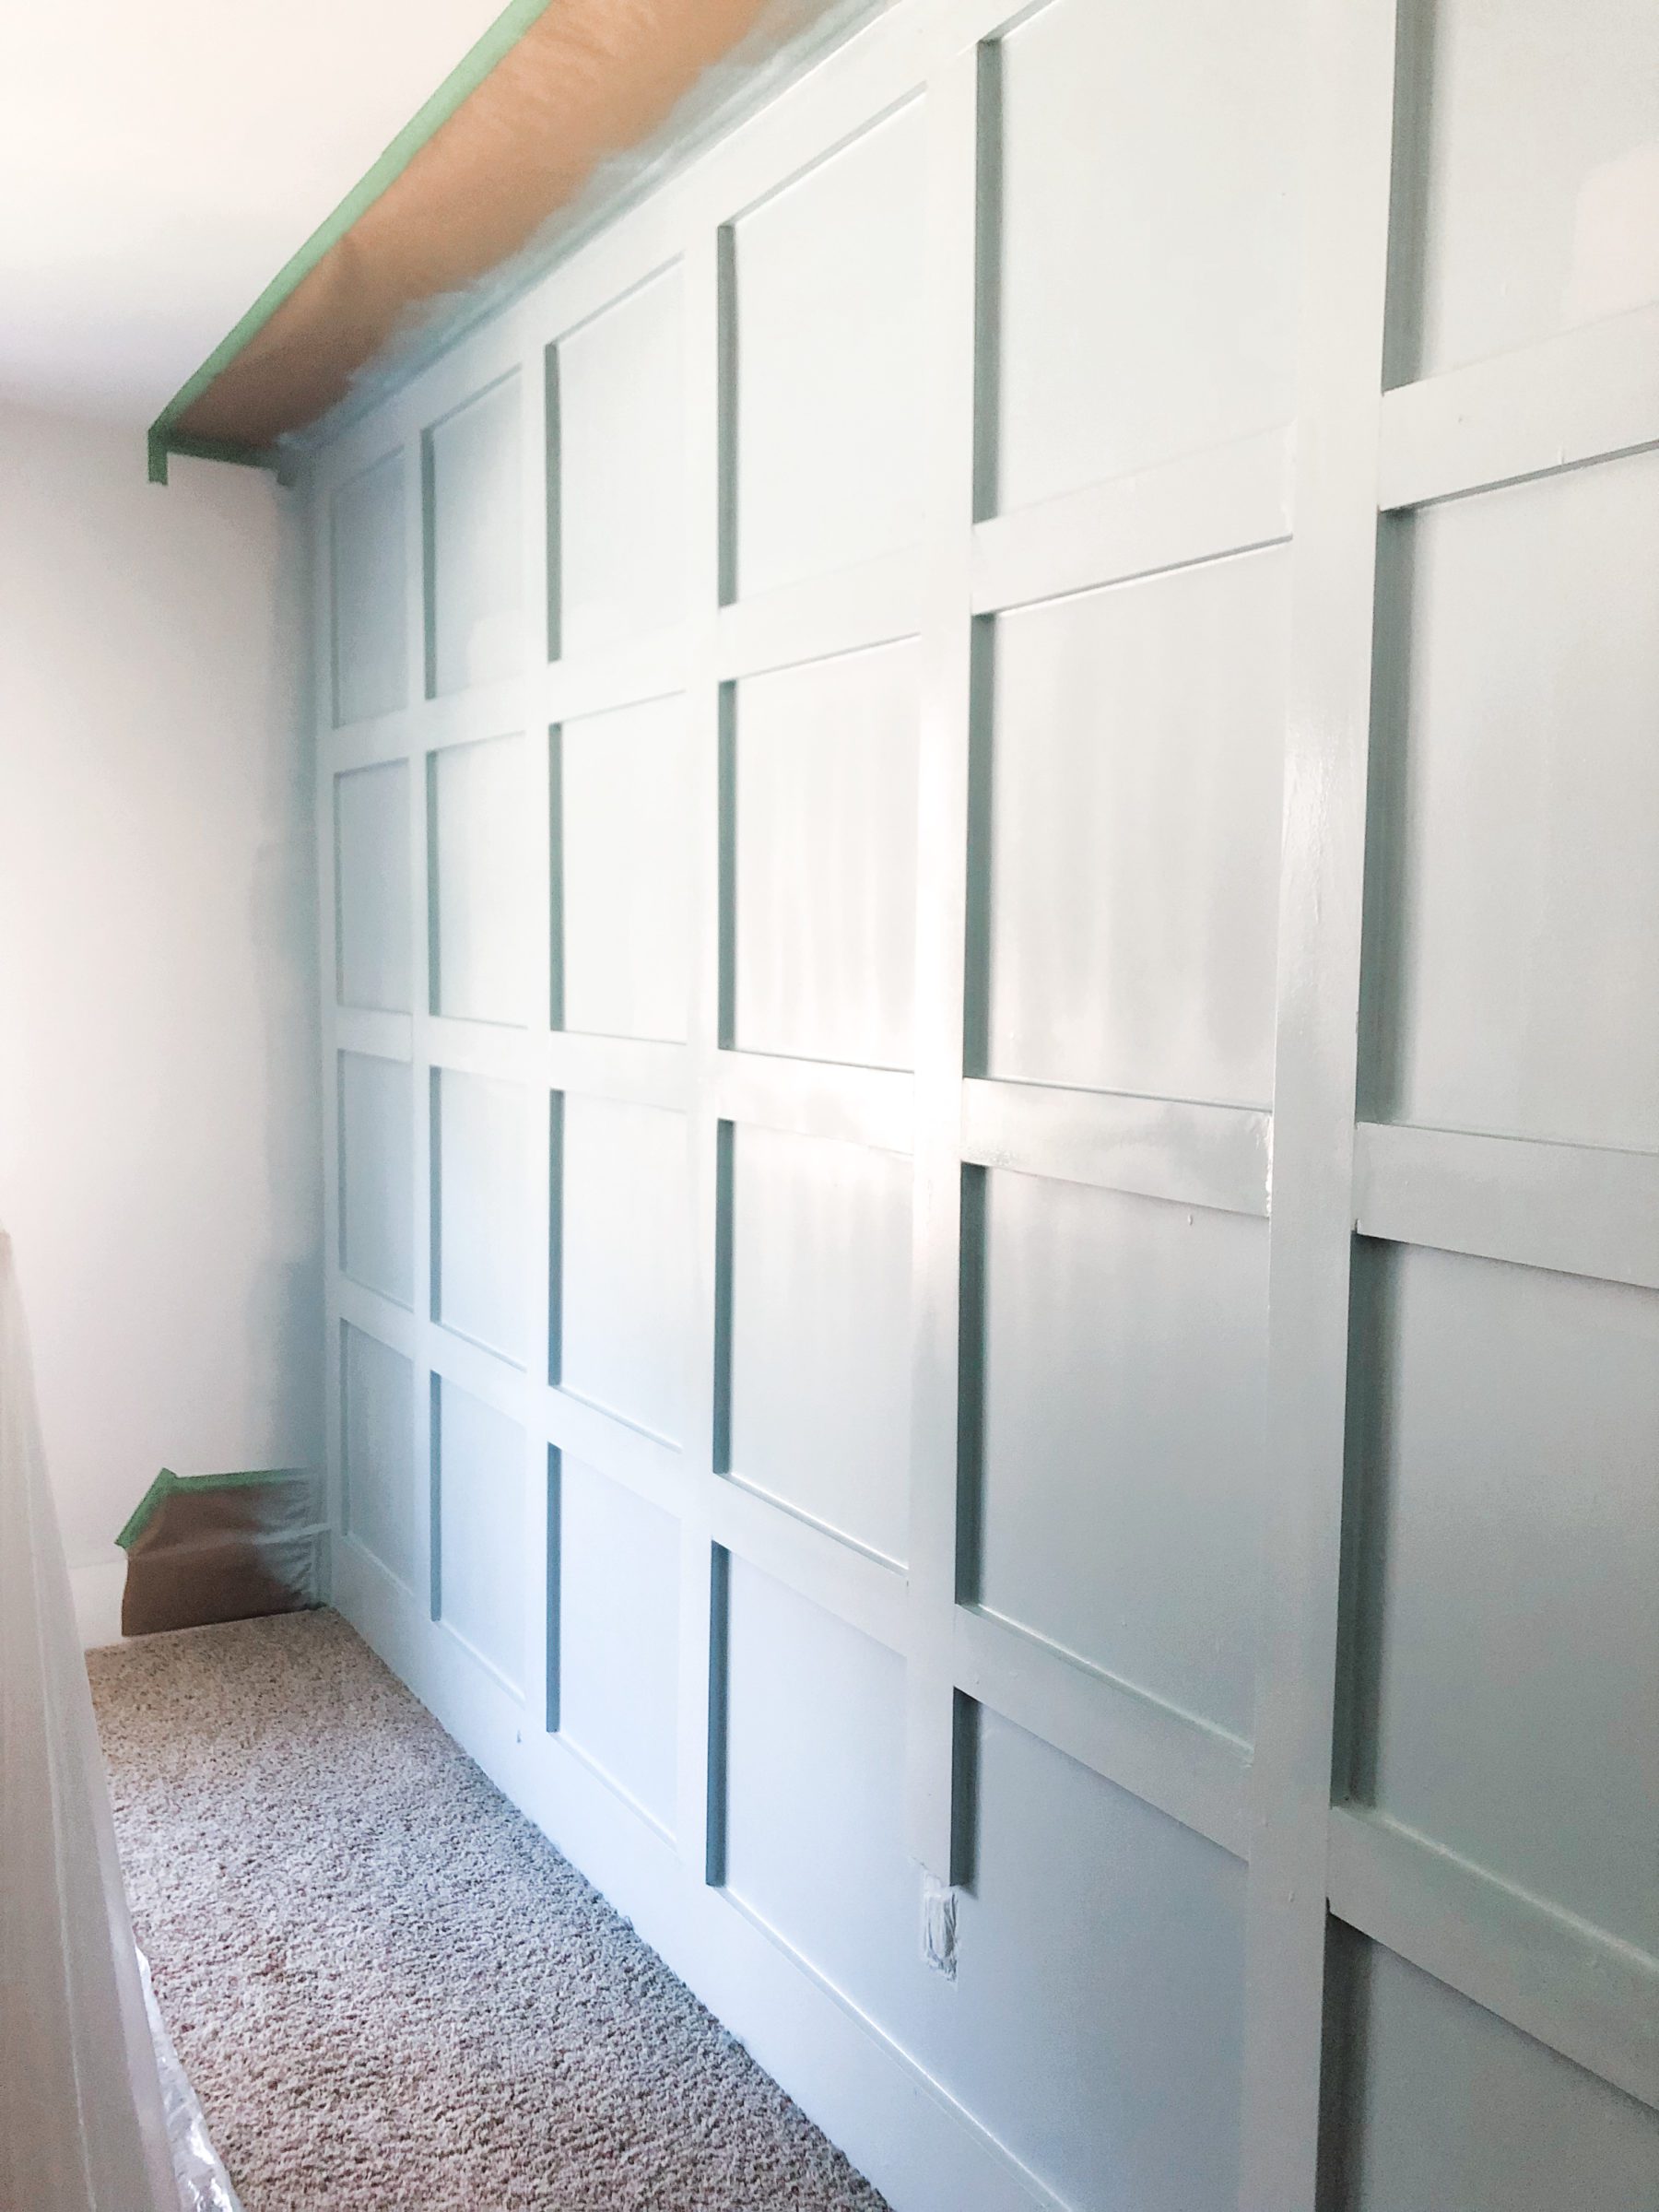
This is always my favorite part. I love how satisfying it is to cover up all those marks and imperfections with a fresh coat of paint. For our accent wall, we knew we were going to paint the rest of the room white. Since our bedroom faces North and gets no direct sunlight, it can seem pretty dark in there. Painting the walls white would help brighten it up by reflecting some of the natural light we get (photographer tip for ya!).
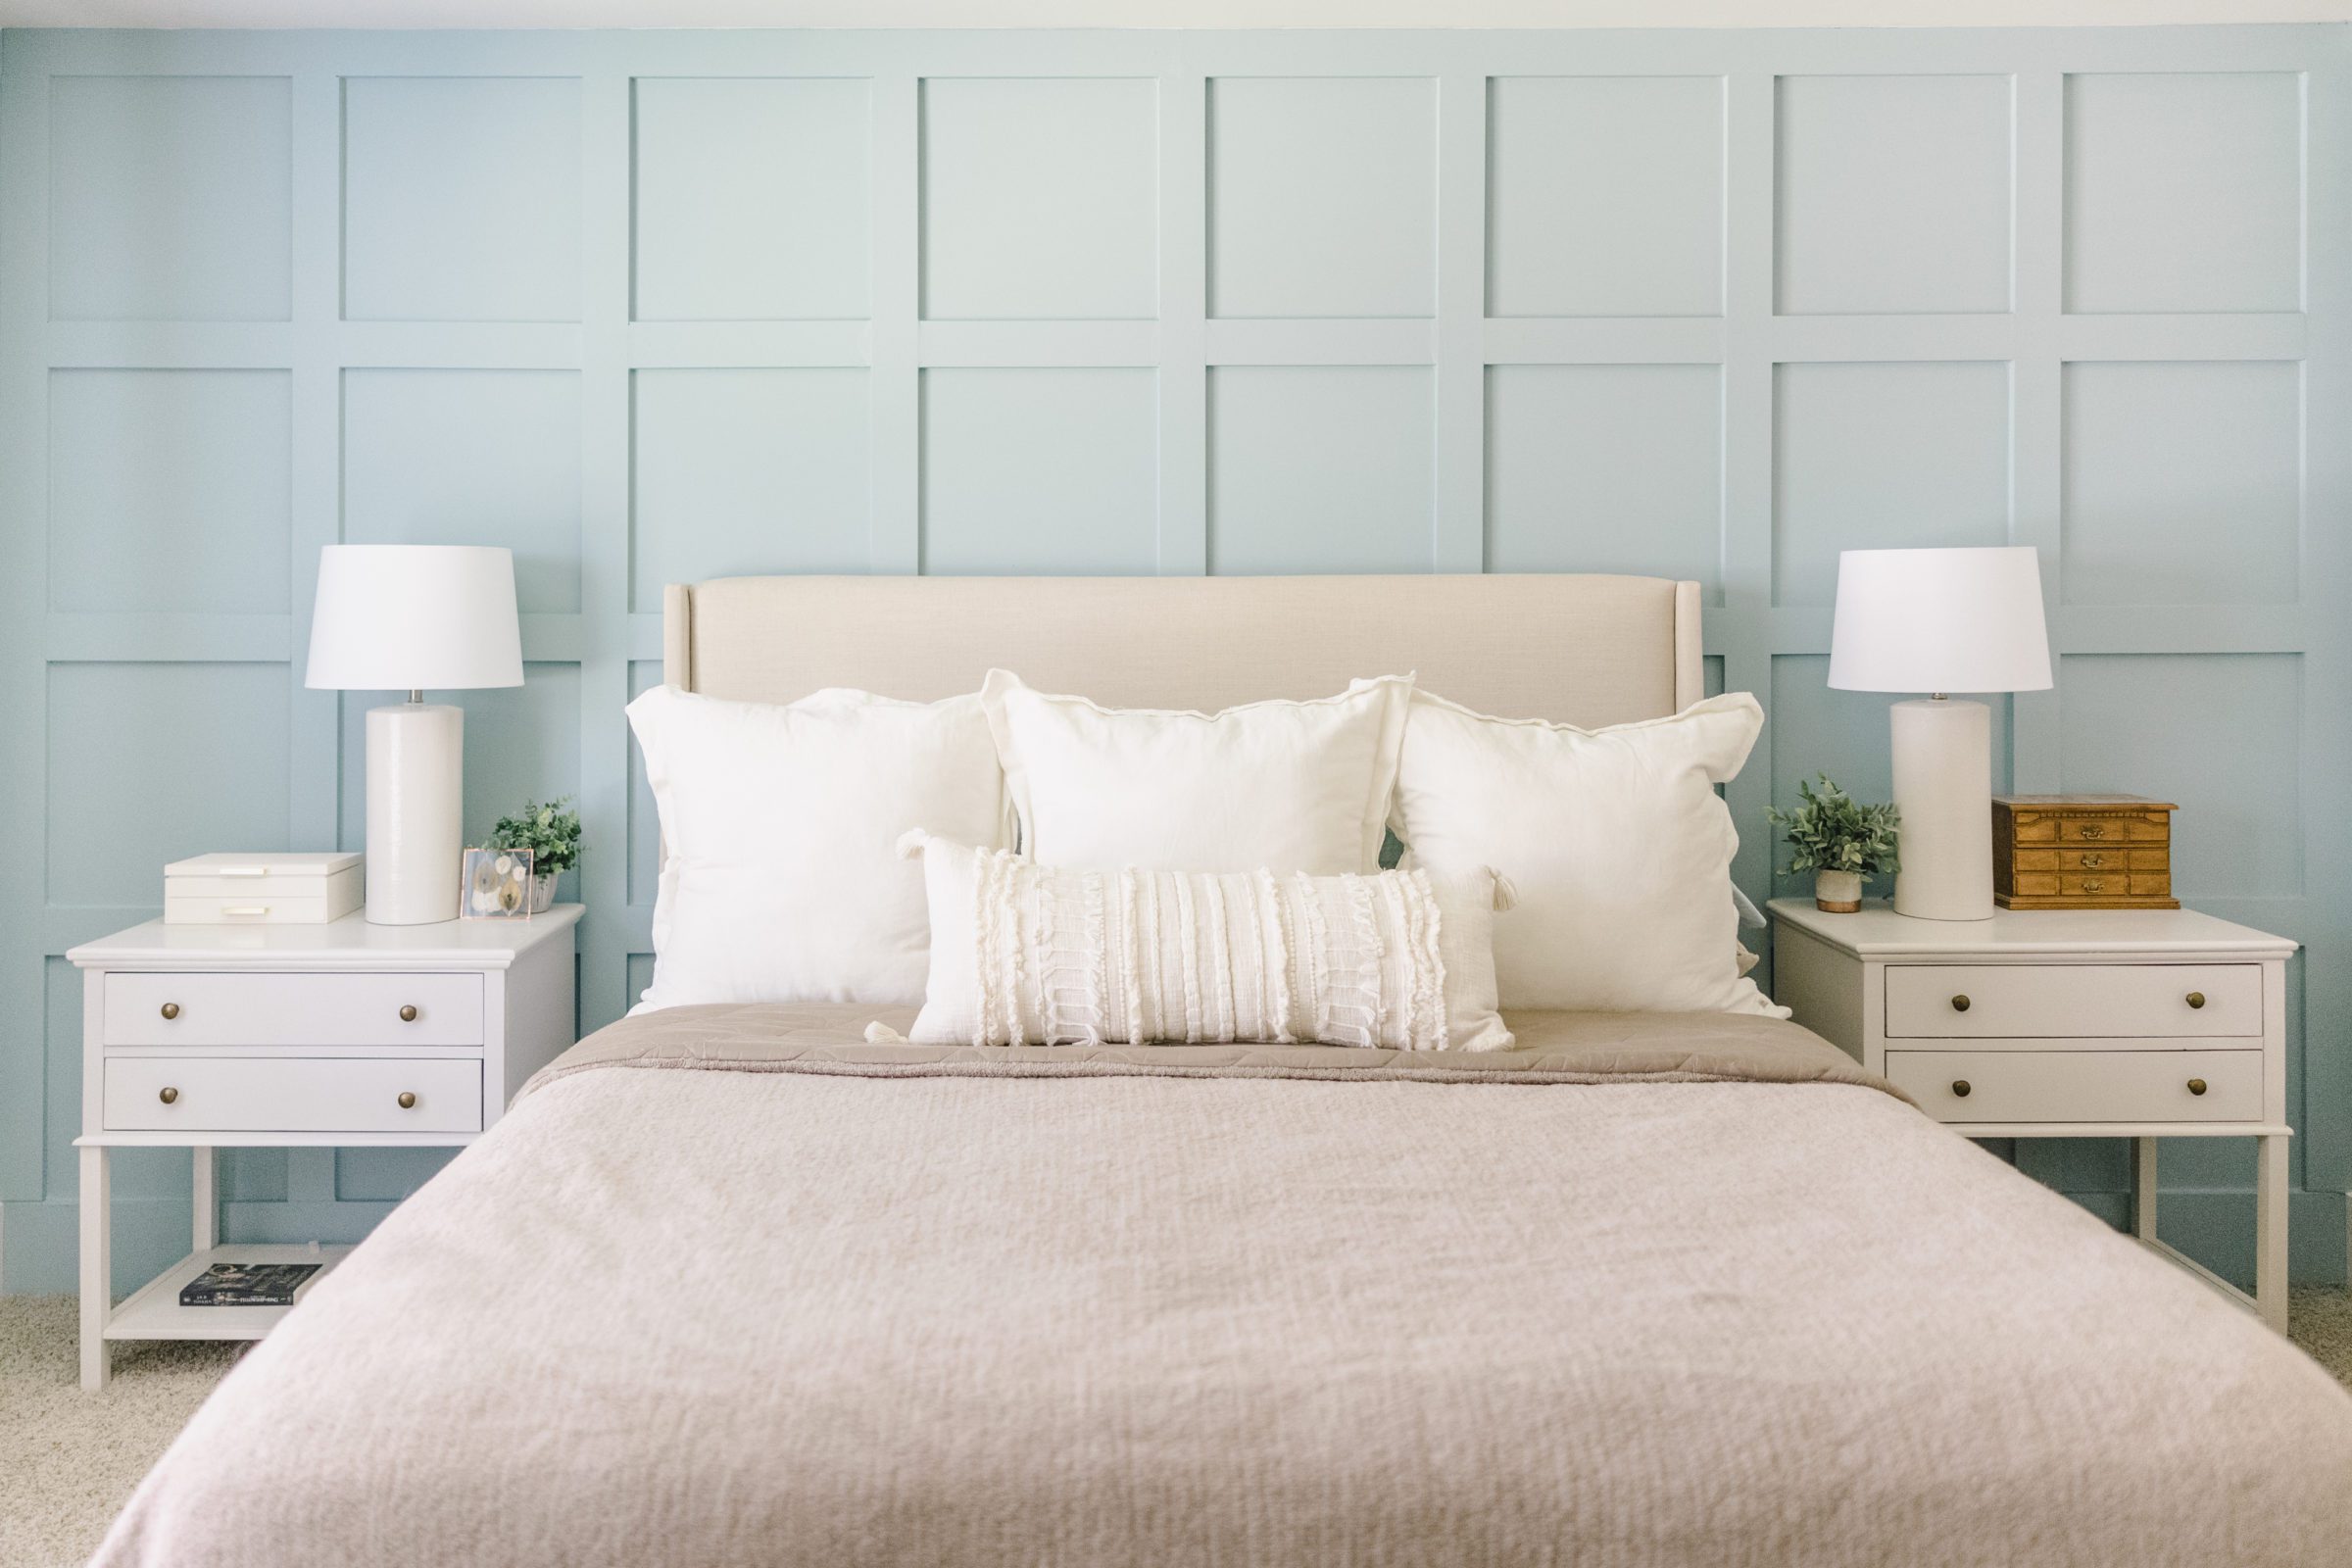
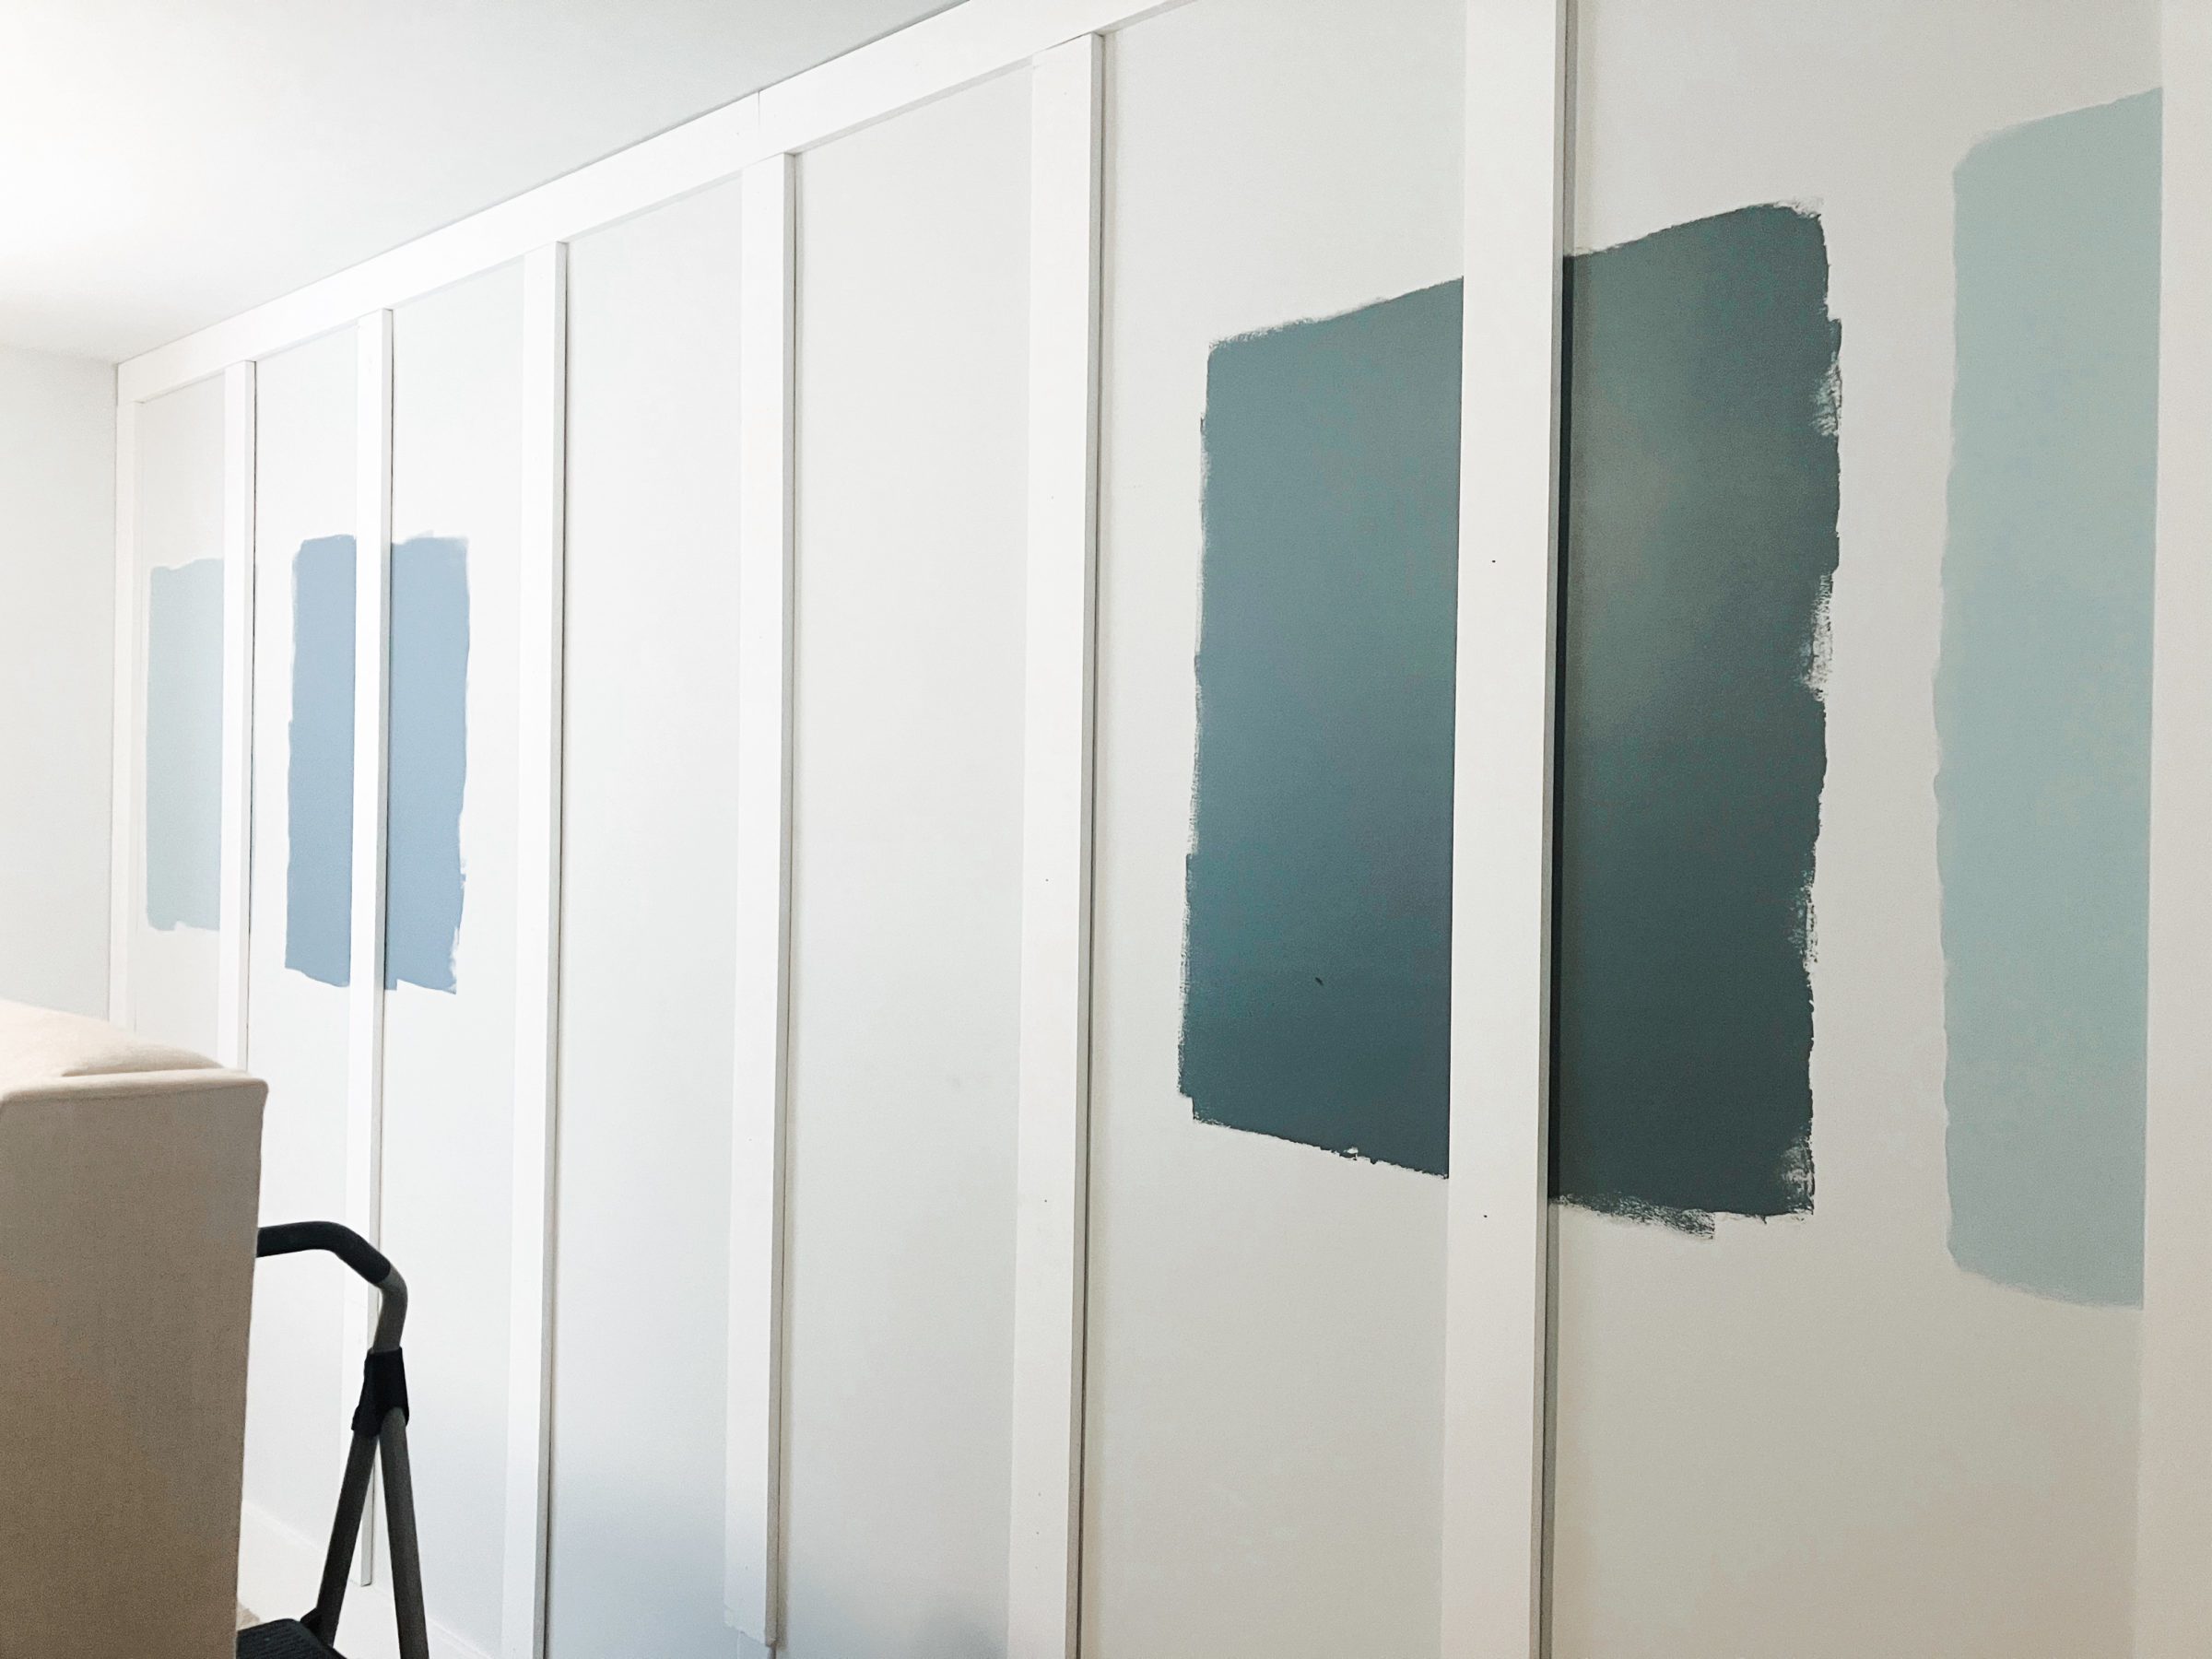
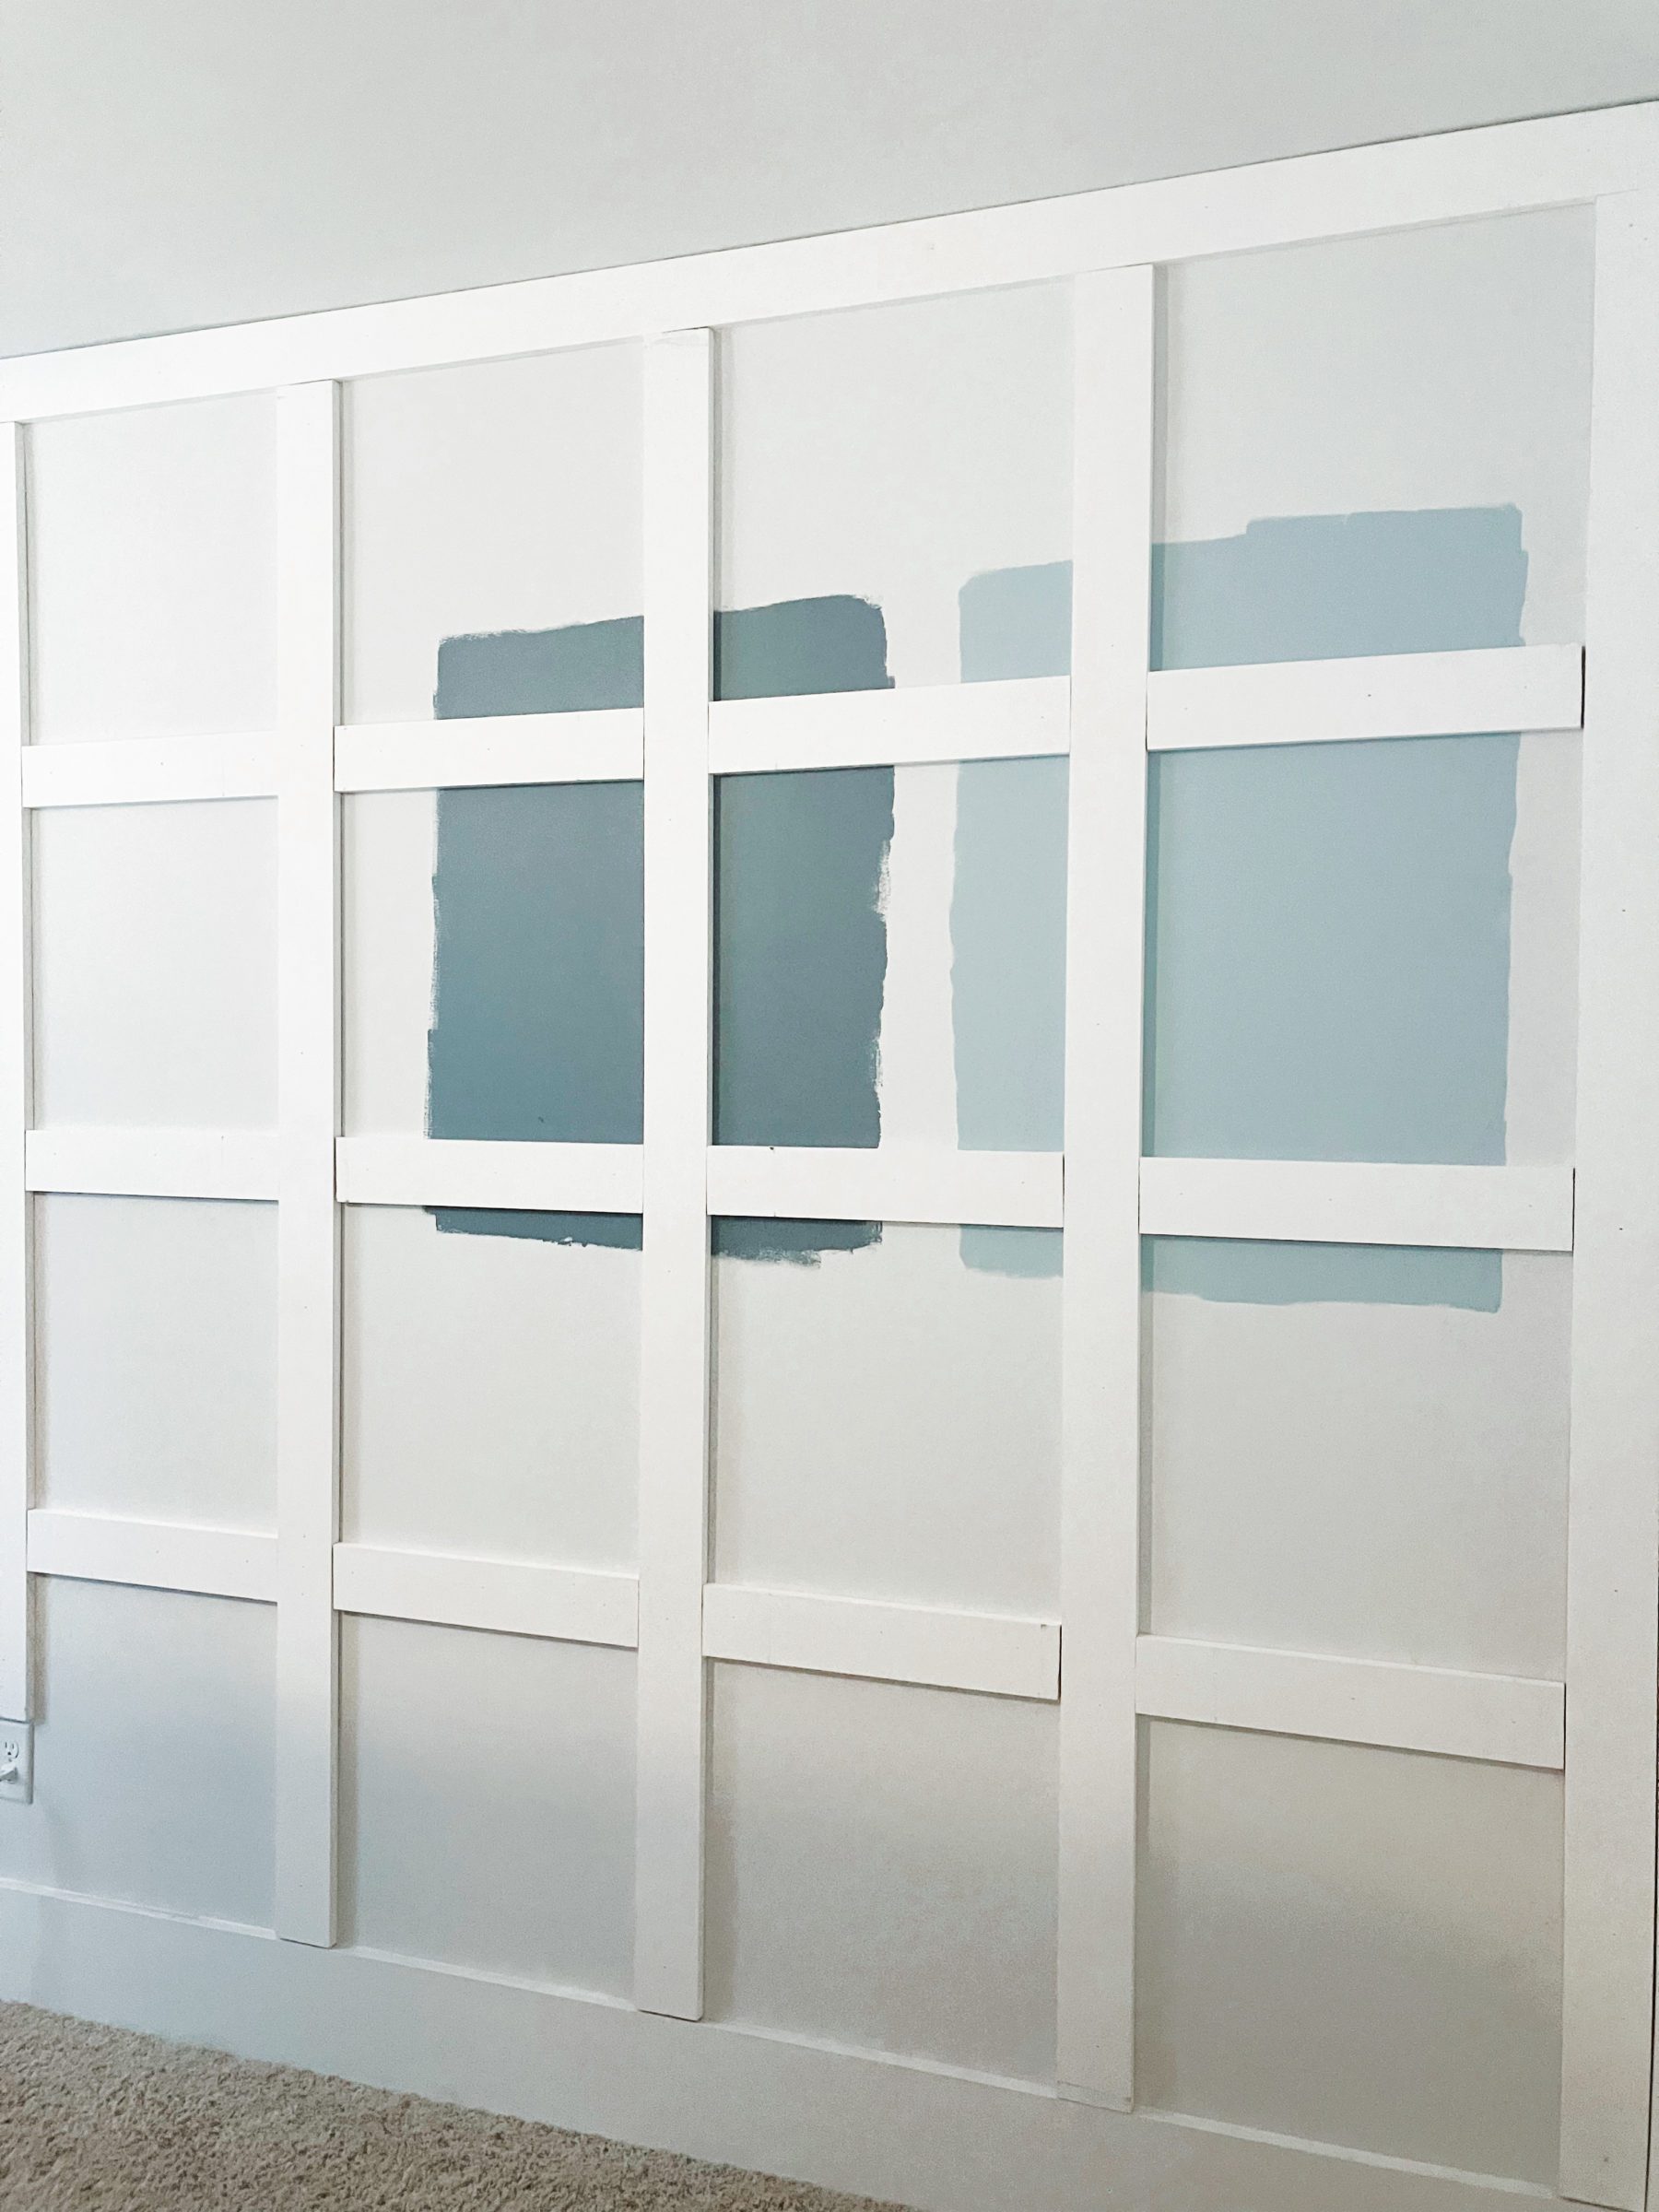
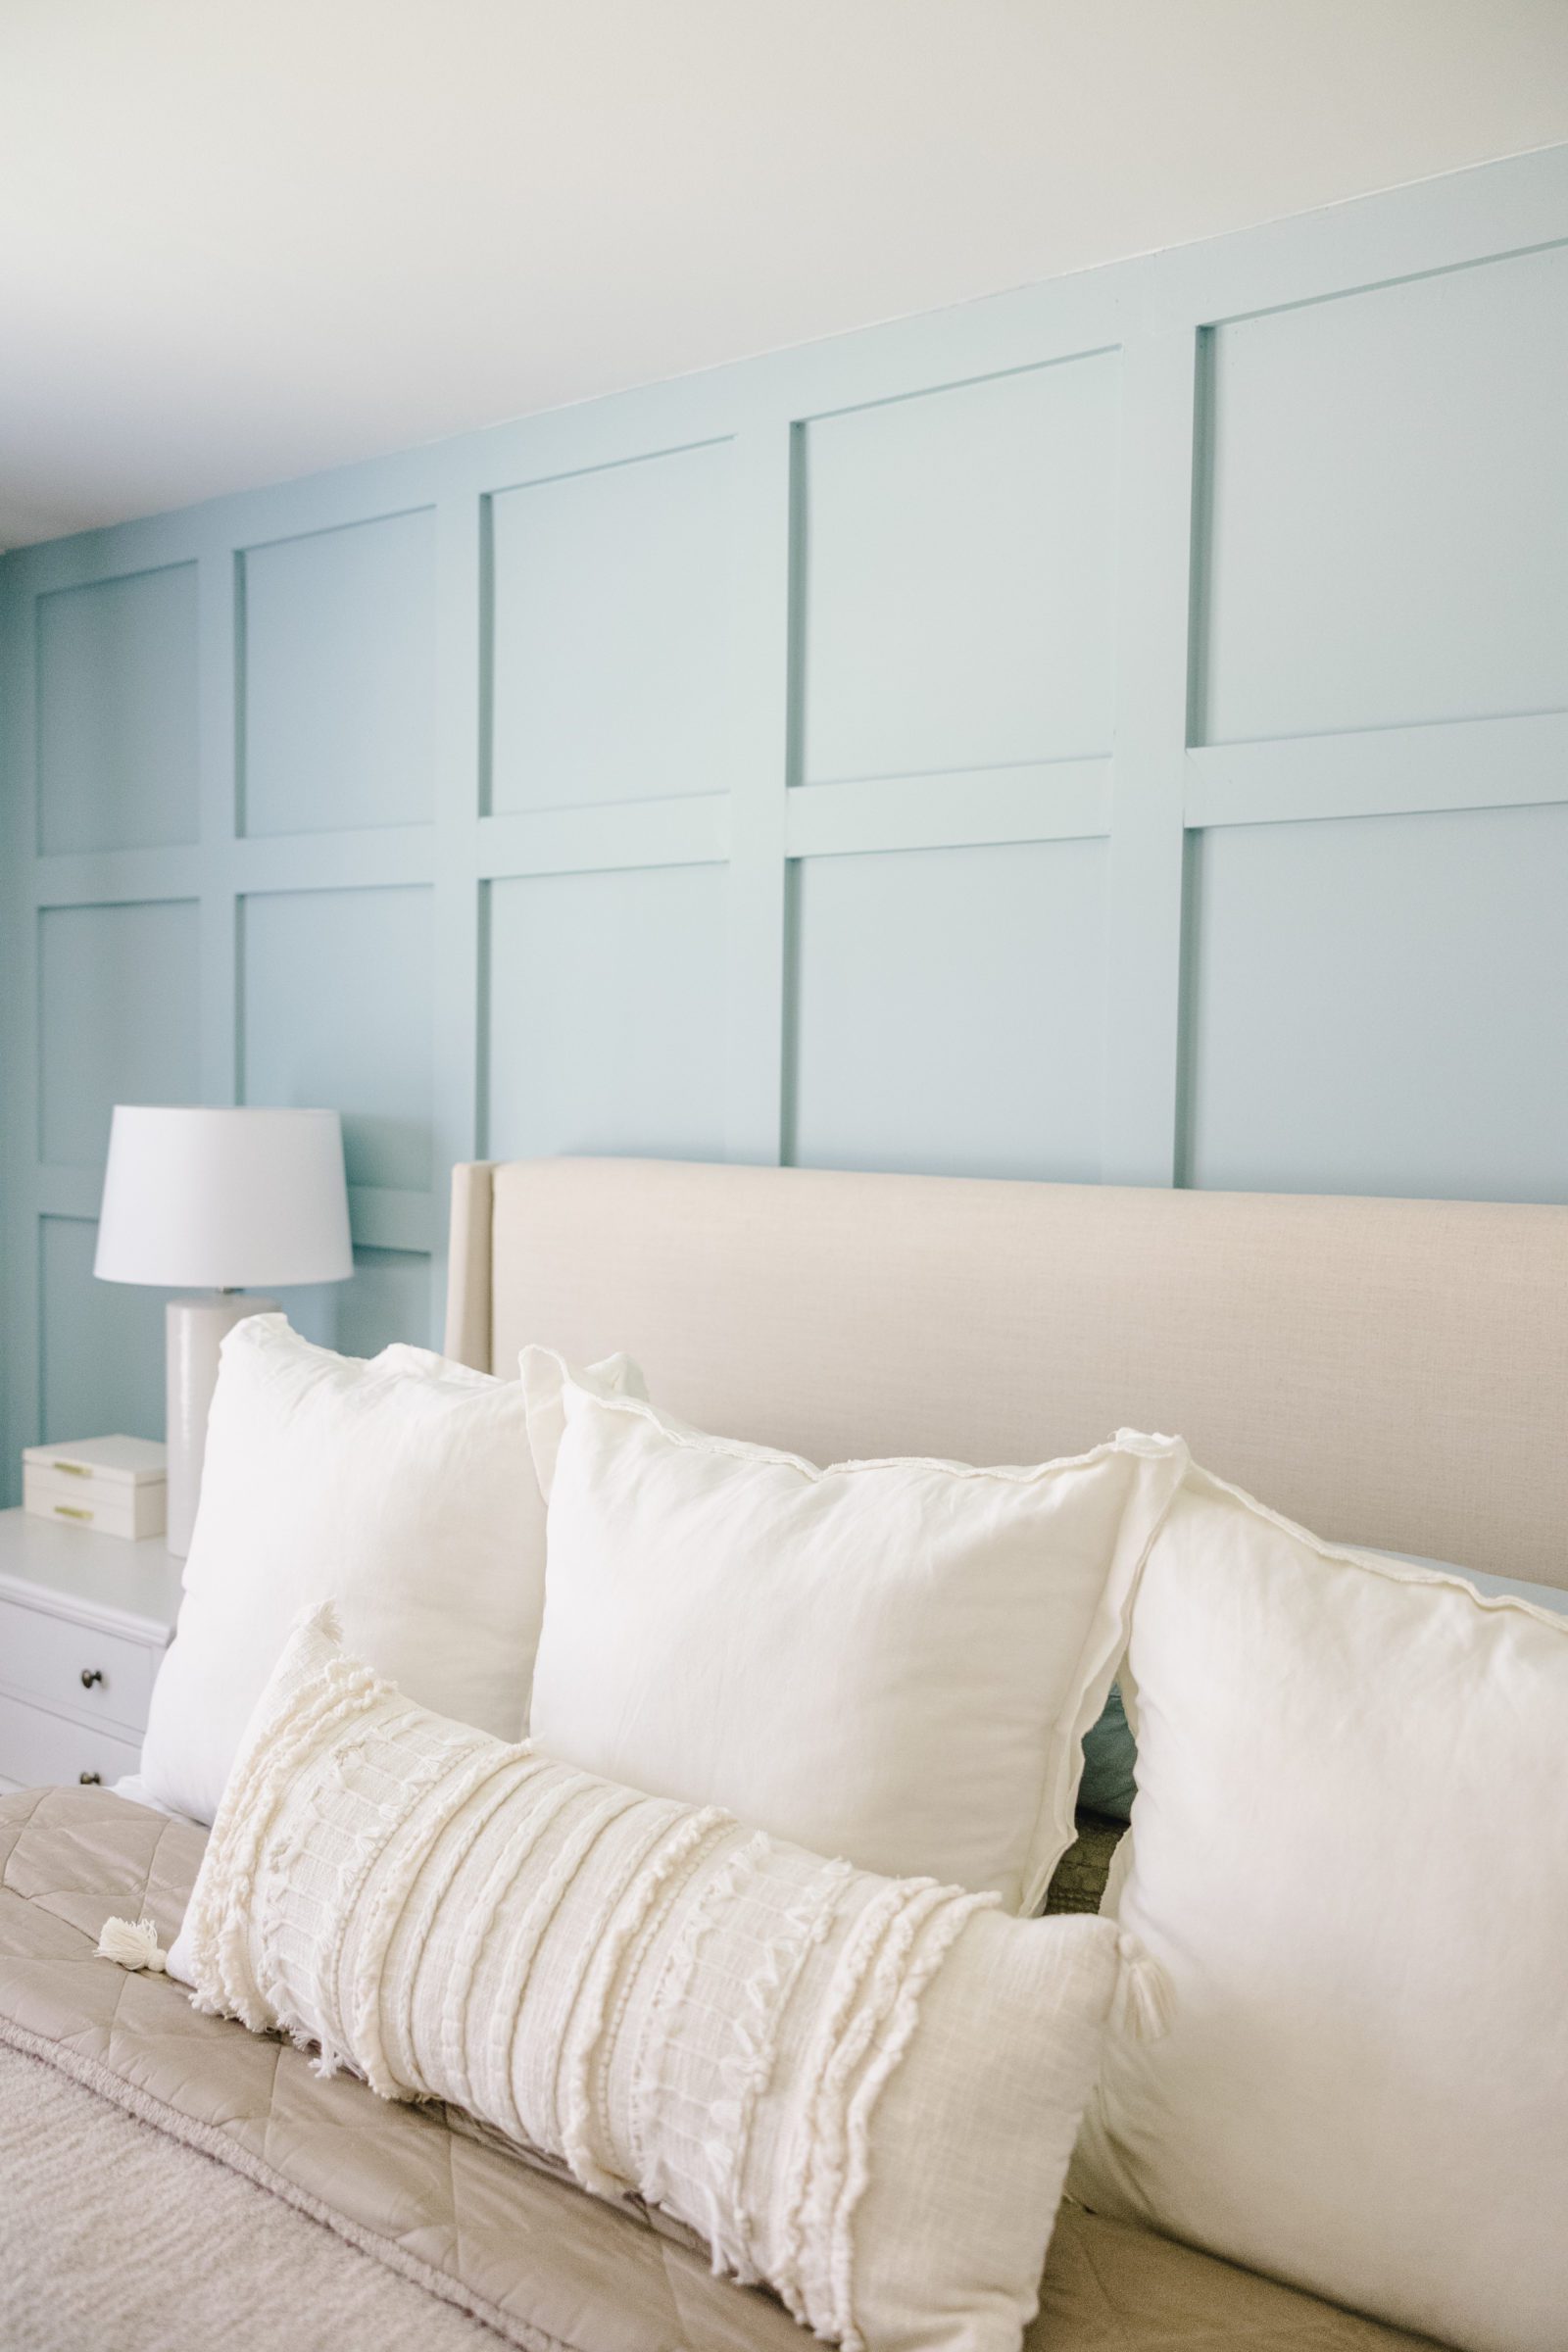
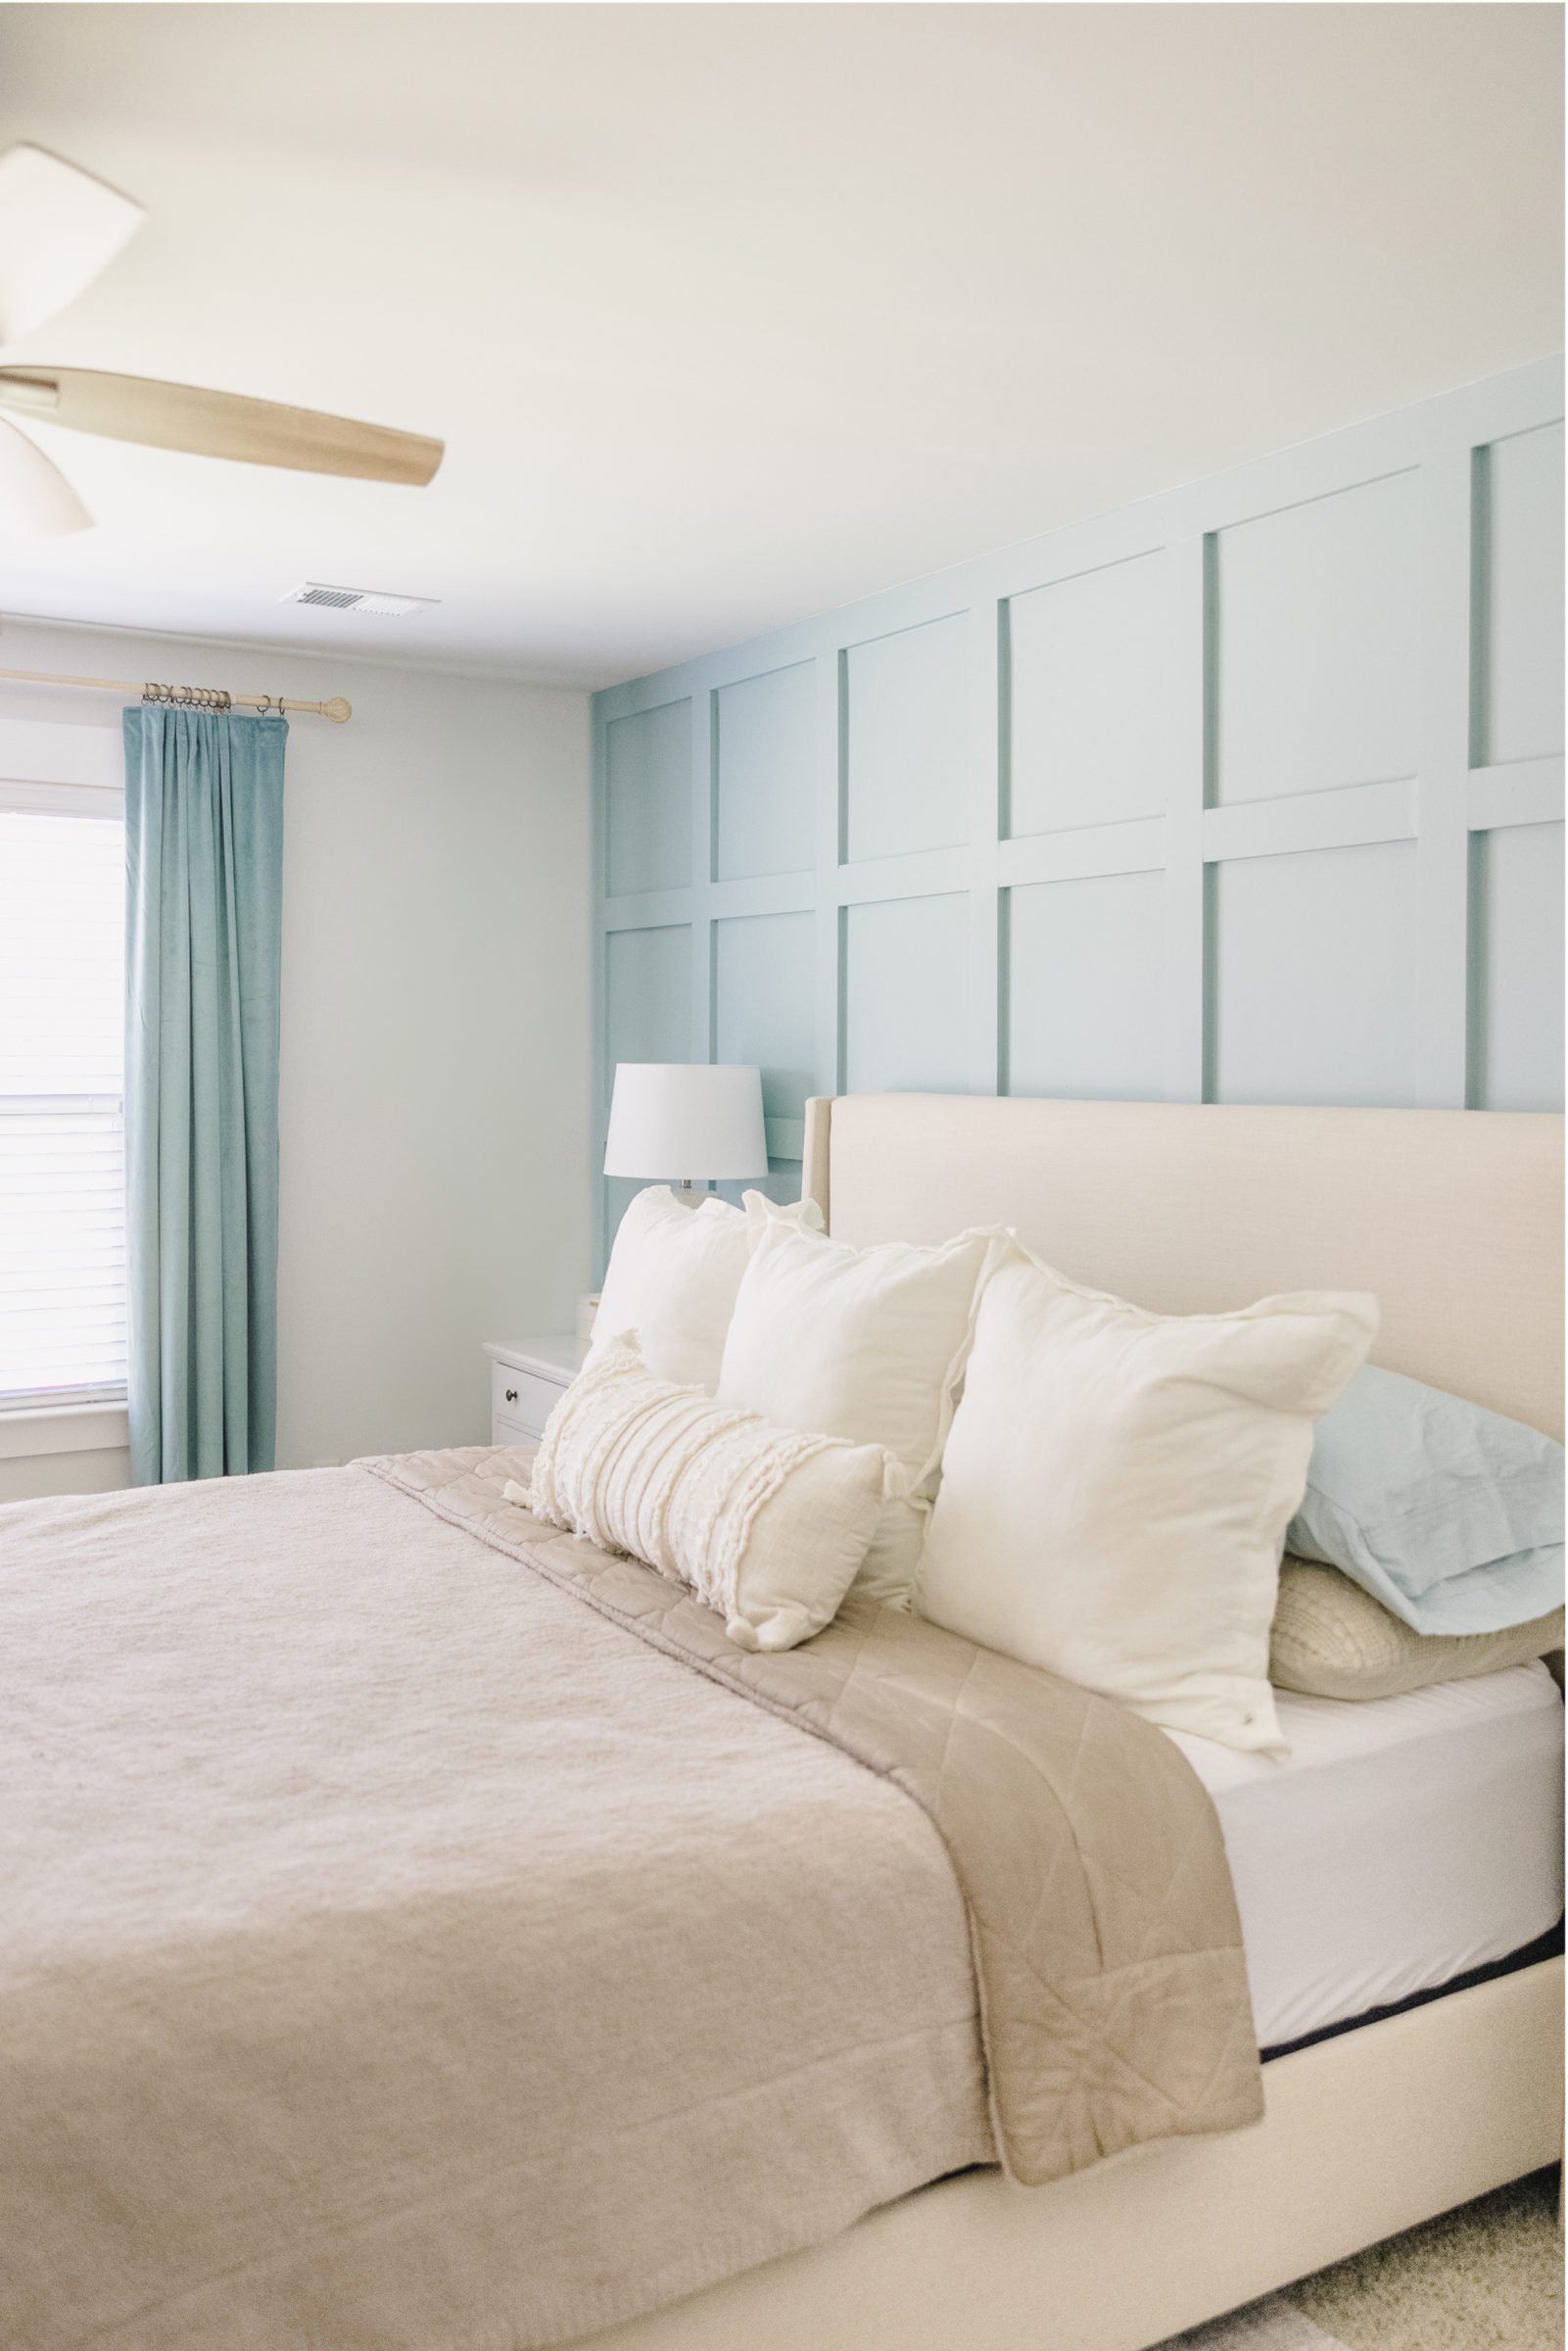
However, we wanted this wall to be a stand-out feature of our room so we decided to paint it blue. If you know me, this is no surprise. Since North-facing rooms tend to get cooler-toned natural light, we looked at various hues of warm-toned blue paint. We ended up choosing a warmer teal-toned blue from Benjamin Moore called Paradiso. It’s a really pretty, light, warm blue.
Normally painting a wall like this would require cutting in all the edges with a brush before rolling the boards and wall. However, to make this step go by quicker, I used our Graco TrueCoat 360 DSP Airless paint sprayer. I have used this for countless projects and it’s been great! I will admit, I ran into some issues this go-around with a clogged sprayer nozzle so it was a bit of a struggle to get this painted in one day, but I did it!

That’s it! This project took us roughly 3 days to complete start to finish. While this project is a bit more tedious than others, I would say this is definitely an entry-level DIY project and I am SO happy with the results! It adds so much extra character to the room and creates visual interest without being too busy. The color also perfectly coordinates with our coastal themed home. Just a few final notes to anyone looking to take on this project themselves:
1. If you are painting over builder-grade flat paint, you will DEFINITELY need two coats. Even if you get a one-coat coverage paint, you’ll still want to do two. The reason for this is that flat paint just SOAKS UP the first coat and if you leave it at that, you’ll end up with patchy areas and the color will most likely be a bit darker than it should. Doing two coats ensures you end up with the correct color, correct finish and complete coverage.
2. If your boards are warped at all or your wall is not completely flat, you’ll want to nail the boards in at an angle. Brand nails are not particularly strong and since they go in perfectly straight, if there is a gap between the wall and the board that you’re trying to eliminate, the straight nail will just pull out and you’ll still end up with a gap. Nailing it in at an angle will help provide some extra hold and keep the board flat against the wall.
3. Measure twice, cut once. It’s an age-old rule and I can’t tell you how many times we’ve ignored it and then regretted it. Don’t make the same mistake we did. Especially on a project with as many pieces as this one. Double and triple check your math, make sure your marks and cuts are even, and still be prepared to make a mistake. It happens to us all haha.


leave a comment