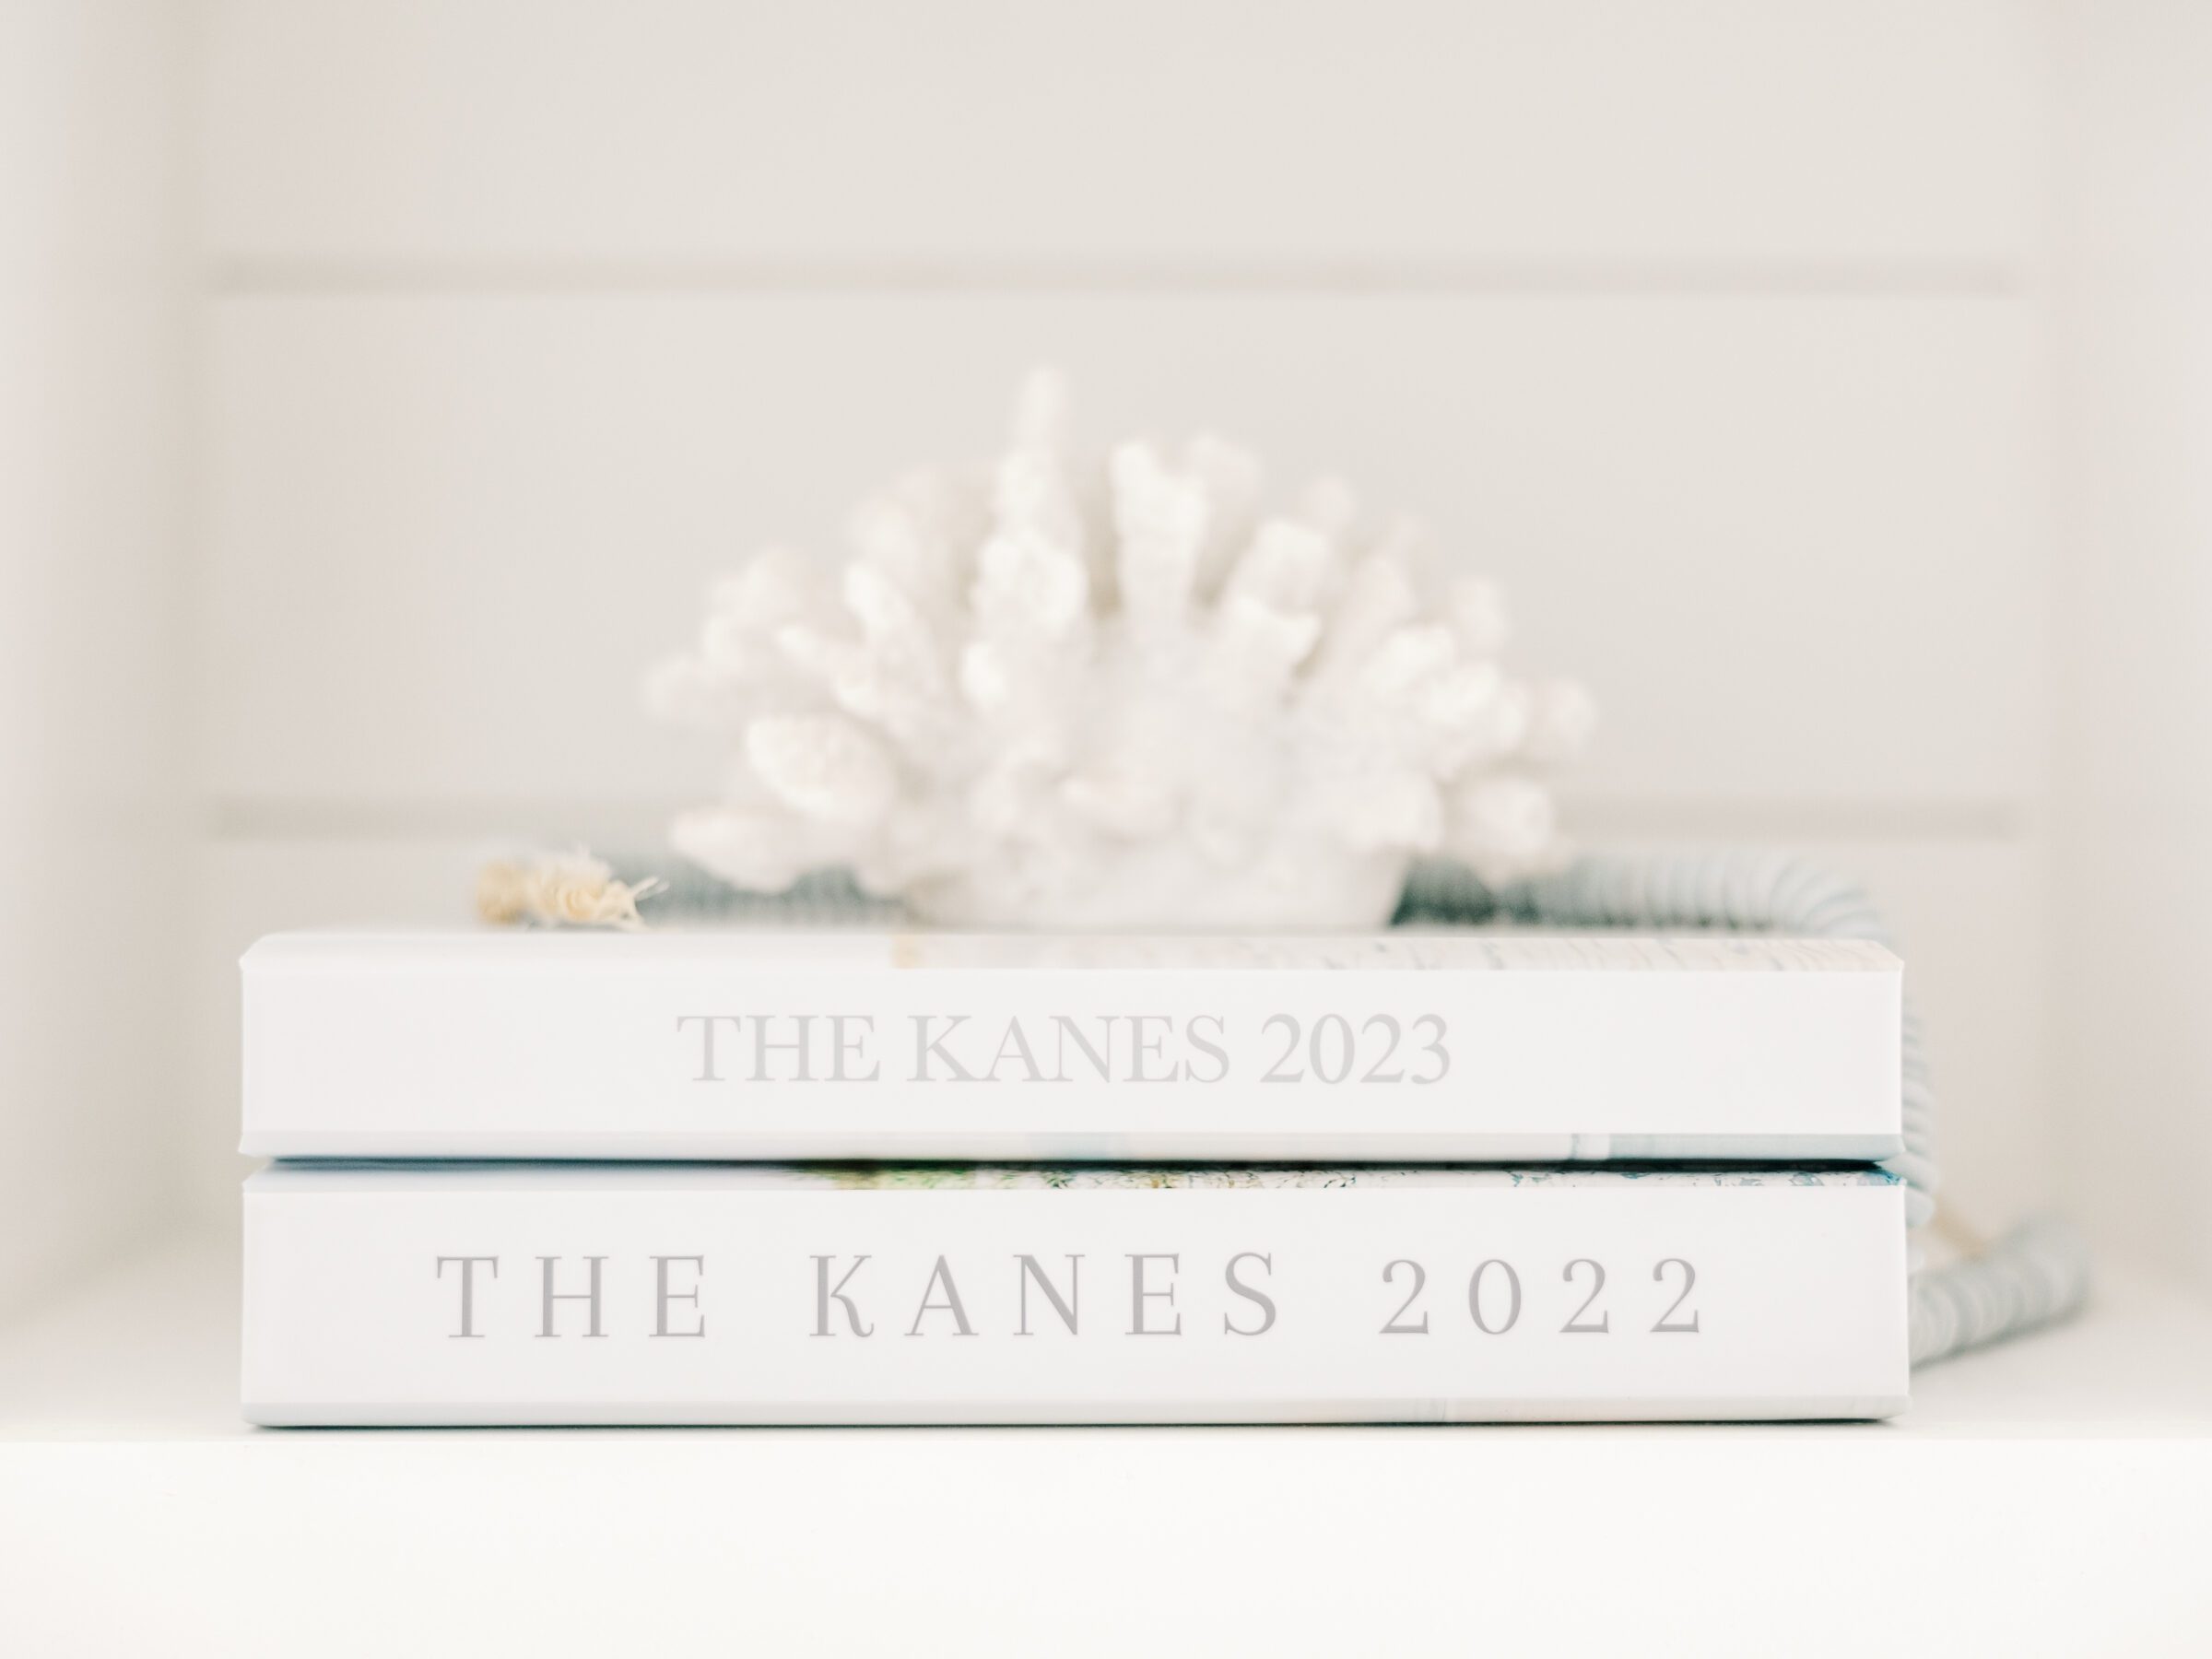
As a professional photographer, one of my absolute favorite things is seeing photos printed out in physical products. That could mean framed photos on the walls and shelves or, my personal favorite, printed in a beautiful album! Now Im sure you’ve heard people rave and gush over those hand-crafted heirloom wedding albums (I definitely do), but did you know that you can also print your family sessions, newborn sessions and even your iphone photos into beautiful albums to display on your coffee table?
Every year, for the last few years, I’ve designed and printed a ‘Family Album’. Up until recently our family has consisted of me, Ryan and our dogs haha. But now that we have Declan, I’m excited to be including another aspect to these family albums! Today, I want to walk you through my exact process of how I create these photo books that we can continue to look back on for years.

Select Your Photos
This first step, is to sort through and pick out which photos you want to include in this album. I always start with any professional photos we’ve had done that year. I like to do an anniversary session or family session of some kind so I include those as well as any other professional images (mini sessions, photos I’ve taken with my own professional camera, etc.) Then I move on to trip photos. If we took any vacations I like to make sure I pull some of those images too. For example, we took a week-long trip to Cape Lookout in 2021 so I made sure to grab some of those pictures to include in that year’s album (For big trips like our vacation to Italy I will usually make an entire separate album for just that trip and then include only a handful in the annual album).
The last piece is my iPhone photos. Every so often I will download all my iPhone photos from the cloud into a folder on my computer and name it with the year. Then I go through and delete all the junk (screenshots of Amazon return codes, random photos of the grocery list, etc). Once I have it down to just the actual important images, I go through and pick the best images from throughout the year to document those times when I didn’t have my professional camera with me. This usually includes snaps from visiting family, going out to eat with friends, quick photos of the dogs, a few selfies, Declan playing, etc. Once I am happy with my selections for our family album, I move on to uploading them.
Upload Images
After you’ve selected all your photos that you want to include, save them into a folder and title it with something like “2023 Family Album”. Then upload your images into whatever photobook program you want to use to design your family album. I currently use a professional printing lab, but in the past I have used Blurb which has great quality products and it’s available to the public! If you’re using Blurb, you’ll download their free design program called BookWright and use that to design your page layouts and cover. I select either the Layflat ImageWrap photobook or just the Hardcover ImageWrap photobook.
Design Your Family Album
When you start your design, you will have to select the size of the album first. I typically choose a 10 x 10 layout. I like the size and it works well with the layouts I enjoy using. For photo layouts I like to design my albums with a mix of both vertical and horizontal photos as well as minimalist and more complex page layouts. For example, I may do one spread that is only one vertical image per page. Then the next spread might be a collage of 6 photos from one occasion. A spread is a flat two-page view (as shown below). You can see how I did one spread with a couple of my favorite images from our maternity session, and then later in the album I did a spread with a collage of phone images of Declan.


A couple quick tips when designing family photo albums:
- Try not to have too many images in a spread – it can make it look too busy and cluttered
- If you’re doing an annual album like I do, it may be easiest to do photos mostly in chronological order so it’s a story of how the year went
- Don’t be afraid to include some black & white photos if the color clashes with the rest of the images on that spread
- If you’re going to do big images that cross the center fold, you’ll want to be sure you do a layflat album so you can see the whole picture when it’s flipped open
Select Your Family Album Specs
When you first start the design you will need to choose the size so that part is already done for you. I mentioned earlier that you will want to choose either the Layflat ImageWrap photobook or the Hardcover ImageWrap photobook as your product type. For paper choices I would select either the Mohawk proPhoto Pearl or the Premium Lustre. Avoid matte papers as they can make your photos look dull. Once you’re happy with your selections and your album is all designed the way you like, it’s just a matter of ordering!
I hope this was helpful and that you have a great time building your family albums! I love being able to flip back through mine throughout the years. There’s just something both timeless and special about flipping through a physical album and seeing your family’s photos inside. I hope that one day we can show them to Declan and he will be able to enjoy looking back at our life!
leave a comment